Cosmetic vs Structural Damage
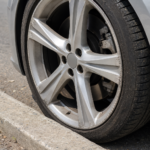
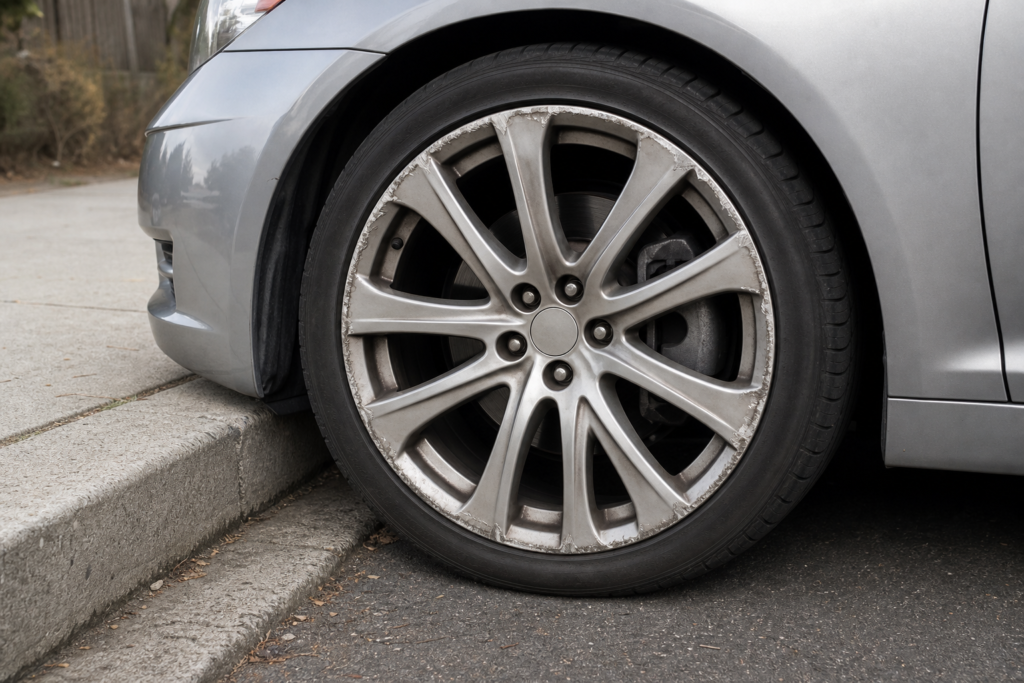
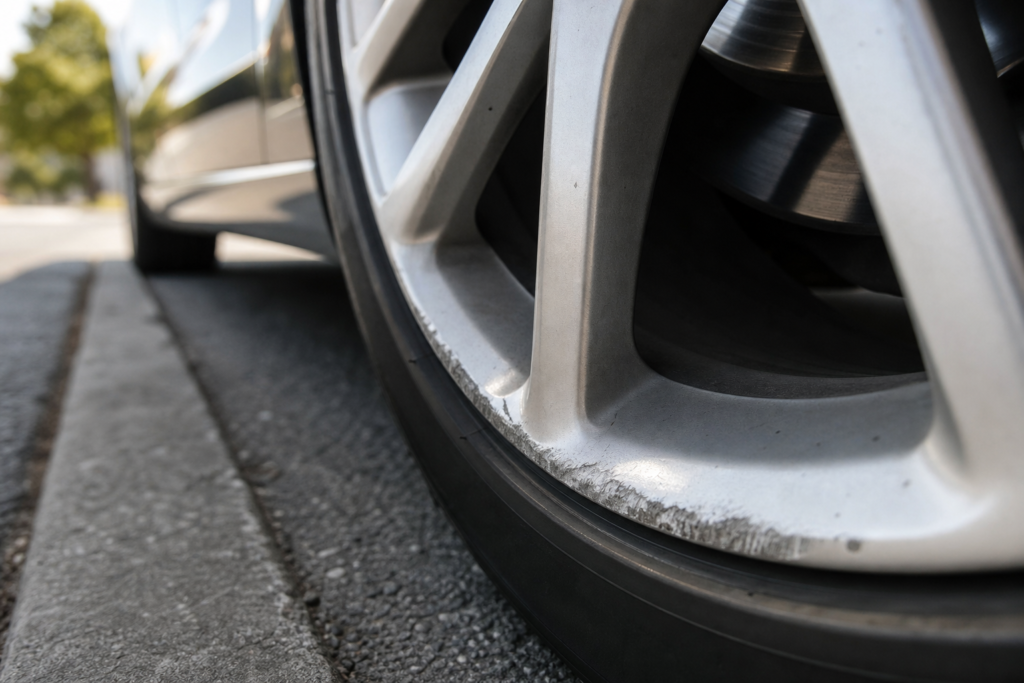
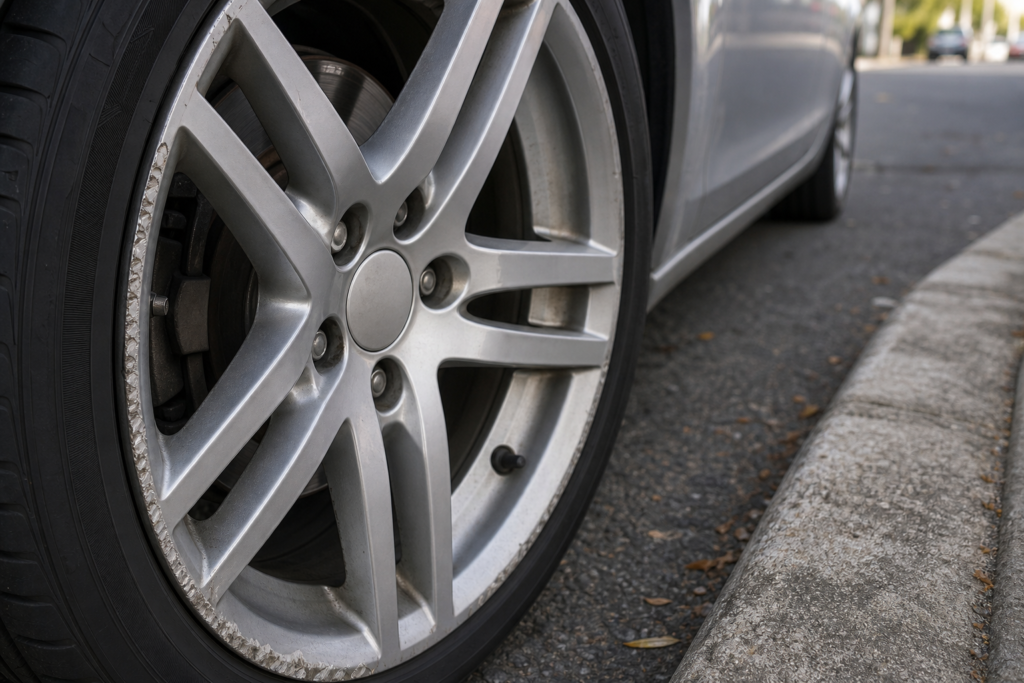
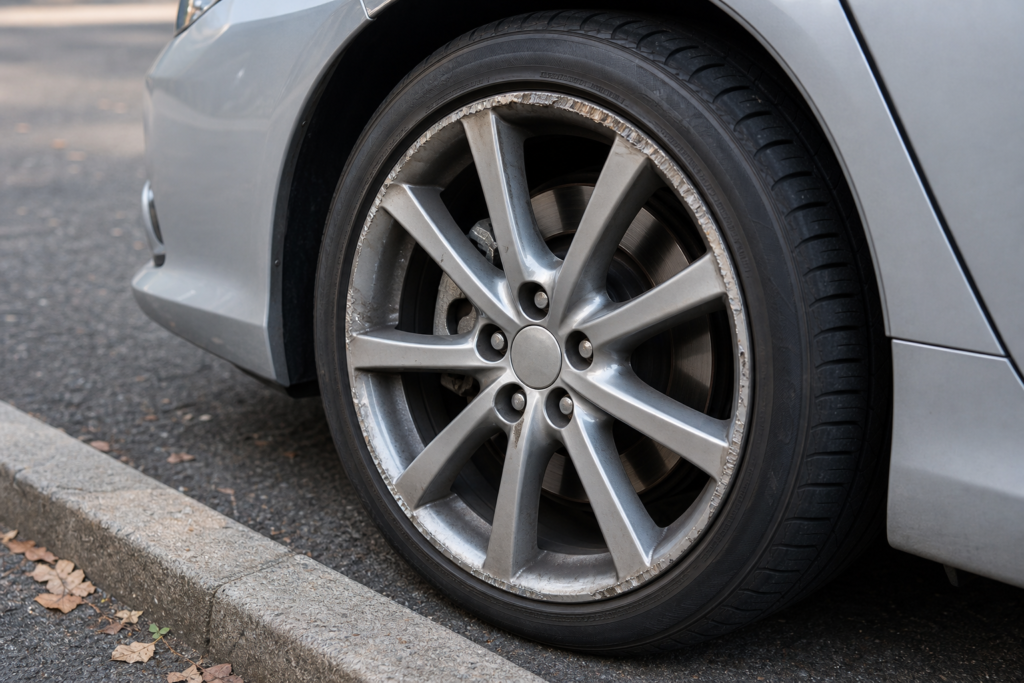
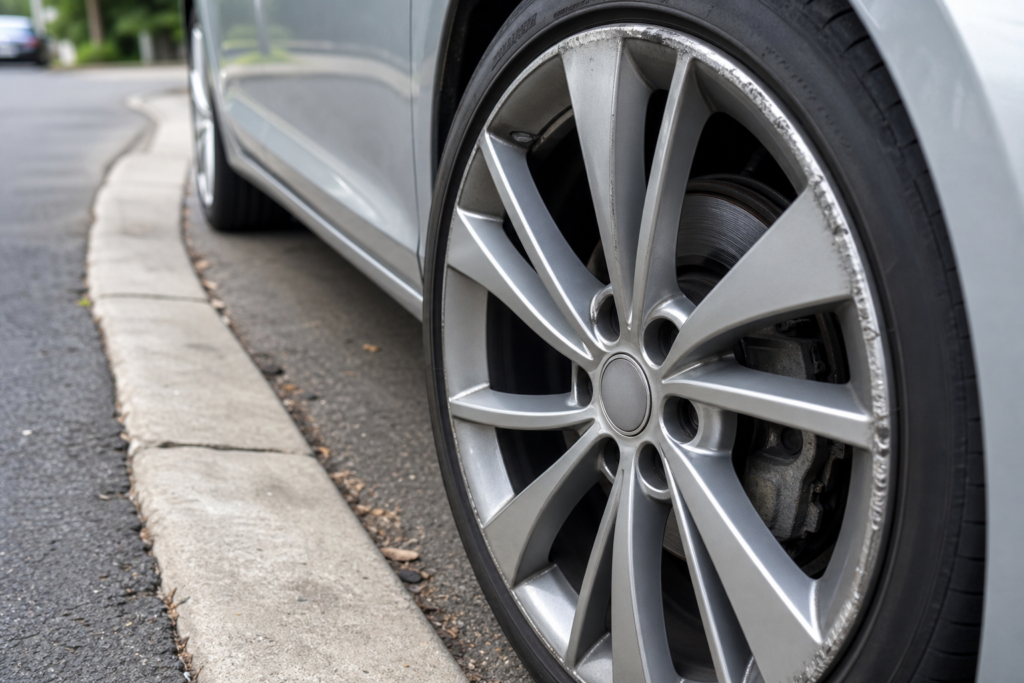
The scrape happens in a parking garage turn: you hear the grind, and your alloy wheel comes back with bright, rough metal and missing paint along the lip. Curb rash can be repaired at home or professionally, but the results depend on how you prep the metal and rebuild the edge, not on the paint alone.
Before you start any curb rash repair, you need to understand what the damage actually involves. That ugly scrape isn’t just cosmetic. The impact tears away the clear coat and paint, gouges into the aluminum or alloy underneath, and leaves behind rough, oxidation-prone metal exposed to brake dust, road salt, and moisture. On a typical alloy wheel, the damaged zone includes shredded clear coat at the edges, bare aluminum in the middle of the scrape, and sometimes deep gouges where the curb bit into the rim’s lip and removed material entirely.
Most curb rash falls into the cosmetic category, surface scuffs and shallow gouges that affect only the outer face of the wheel. This is the kind of damage that responds well to a refinish approach. But there’s a line. If the wheel is visibly bent, if a gouge extends to the inner barrel or bead seat where the tire seals, or if you can see cracks radiating from the impact zone, the wheel has structural damage. No amount of filler and paint fixes a compromised wheel. A cracked or bent rim needs professional evaluation and possibly replacement. Repairing cosmetic rash on a structurally sound wheel is a legitimate fix. Hiding structural damage behind body filler is dangerous.
The distinction matters because it sets up every decision that follows: how aggressive to sand, how much filler to use, and whether you’re doing this yourself or handing it to a shop.
The Full Repair Process
Understanding how to repair curb rash on rims starts with seeing the process as a sequence of material layers, each one depending on the layer beneath it. Skip a step, and the repair fails weeks or months later, peeling away from the wheel face as it deals with heat cycling from the brakes, road chemicals, and UV exposure.
The process moves through five stages. First, the wheel is cleaned thoroughly, not just rinsed, but degreased and scrubbed to remove brake dust, tar, and any tire dressing that’s migrated onto the rim face. Brake dust is especially stubborn because it contains metallic particles that bond to the wheel surface under heat. If contaminants stay beneath the repair, nothing that follows will adhere properly.
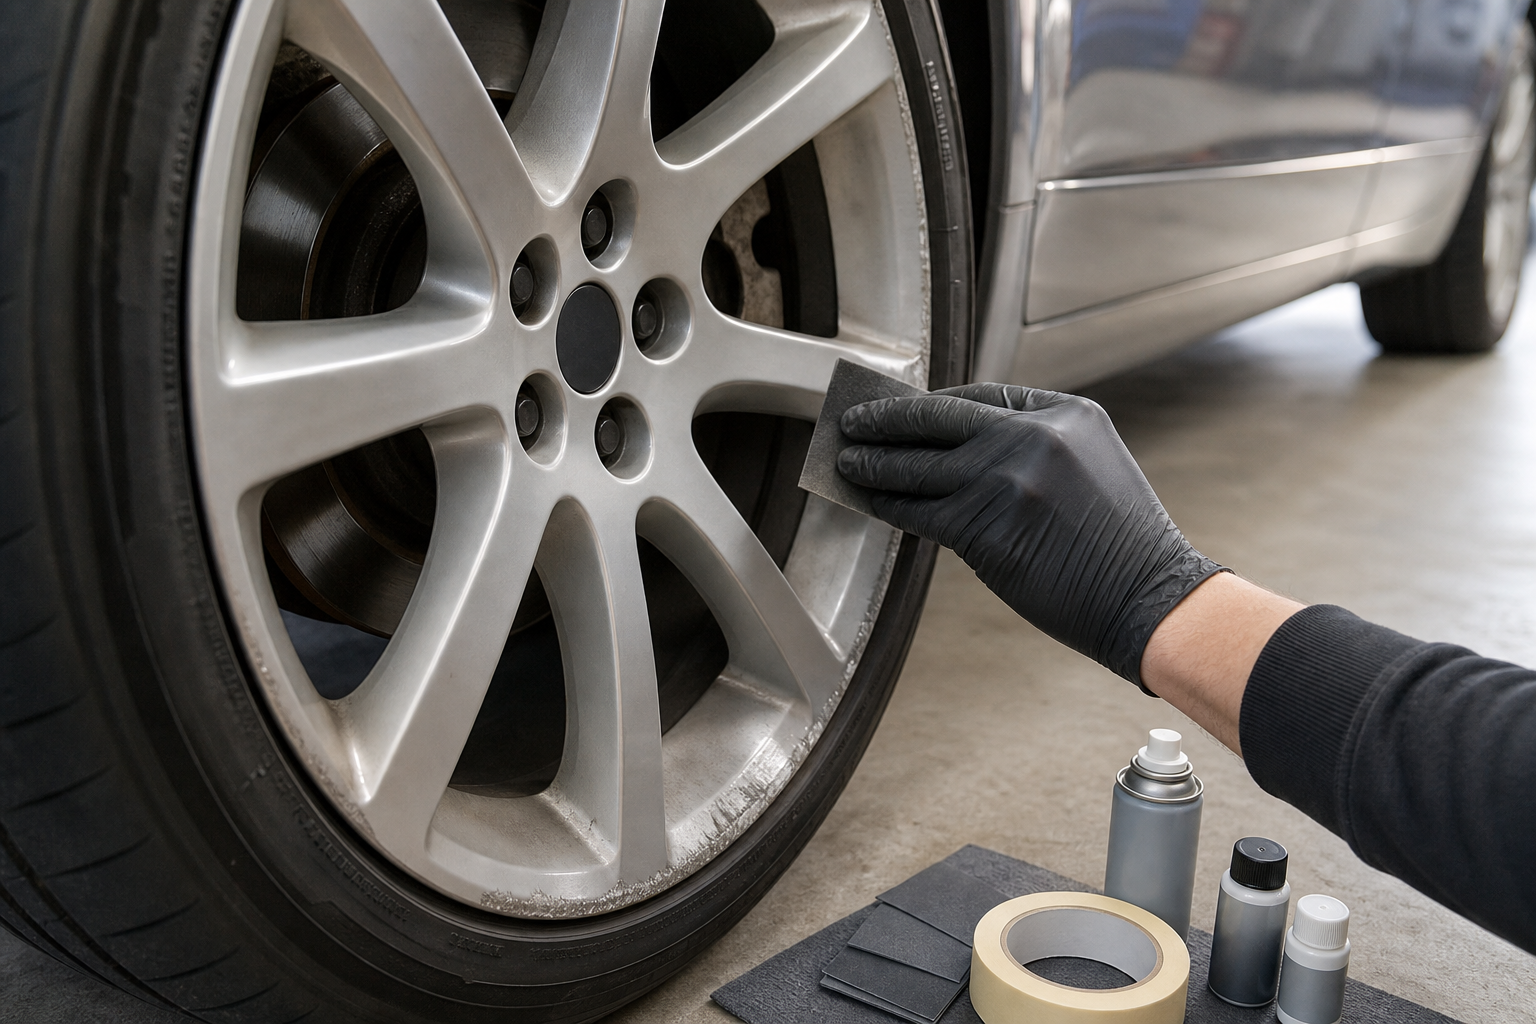
Second, the damaged area is sanded down to remove torn, rough metal and the ragged edges of the old clear coat. Third, any deep gouges are filled with a filler designed for use on aluminum or alloy, not generic drywall compound, not standard auto body filler meant for steel panels. Fourth, the repaired surface is primed with an adhesion-promoting primer suited for aluminum. Fifth, the wheel is repainted to match its original color and sealed with a clear coat to protect the repair from the environment.
Each of these stages has details that determine whether the repair lasts a season or several years. The next two sections break them apart.
Sanding, Filling, and Shaping
Sanding is where most of the real work happens. The goal is to remove all torn and oxidized metal, feather the edges where intact paint meets bare alloy, and create a surface profile that primer can grip. You typically start with a coarser grit, somewhere around 80 to 120, to knock down the rough, jagged peaks left by the curb. Then you step through progressively finer grits, often ending around 320 or 400 before priming. The progression matters. Jumping straight to fine grit leaves the deep scratches from the curb intact beneath the surface. Stopping too coarse leaves sanding marks that telegraph through paint.
For a shallow scuff, just lost clear coat and light scratching, sanding alone may bring the surface back to a paintable state. But a curb rash on alloy wheels fix often involves deeper gouges where material is missing. That’s where filler comes in. A metal-reinforced body filler, sometimes called an aluminum-filled or metal-reinforced filler, is the right choice here. Standard lightweight body fillers are designed for steel auto body panels and don’t bond as reliably to aluminum. They also expand and contract at different rates than the wheel’s alloy when the brakes heat the rim, which eventually causes cracking and separation.
The filler is applied in thin layers, shaped to rebuild the wheel lip’s original contour, and sanded smooth once cured. Getting the edge shape right is the difference between a repair that’s invisible at arm’s length and one that looks lumpy or flat where the rim should be rounded. Many diy curb rash repair attempts fall short here, not because the filler fails, but because the shaping wasn’t patient enough.
Primer, Paint, and Clear Coat
Once the surface is smooth, clean, and shaped correctly, primer goes on. This isn’t optional decoration, it’s the bonding layer. A self-etching or adhesion-promoting primer chemically bites into aluminum and gives the paint something to lock onto. Standard automotive primer over bare alloy is a recipe for peeling, especially on a wheel that regularly sees temperatures well above ambient from brake heat.
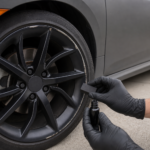
After the primer cures and gets a light scuff sand (often 400 to 600 grit), the wheel is painted. Most factory alloy wheels are finished in silver, gray, or machined metallic tones. Matching the color closely is important, and this is where aerosol touch-up kits diverge from professional results. A curb rash repair kit from an auto parts store typically includes sandpaper, filler, primer, and a paint pen or small aerosol can. These work for minor scrapes, and the results can be surprisingly decent on a standard silver wheel. But metallic and dark finishes are harder to blend invisibly.
The final layer is clear coat, and it does the heaviest lifting for durability. Clear coat protects the color layer from UV fade, brake dust etching, and road salt corrosion. A repair without clear coat will look fine initially and degrade noticeably within a few months.
Specialty finishes add complexity. Curb rash on chrome wheels repair is a different animal entirely, true chrome is an electroplated layer, not paint, and it can’t be rebuilt with filler and spray. Chrome wheels with curb rash typically need to be re-chromed professionally or converted to a painted finish. Machined-face wheels, which have a lathe-cut pattern under clear coat, also can’t be perfectly replicated outside a factory or specialty shop. If your wheel has one of these finishes, know that a paint-based repair will be functional and protective, but it won’t perfectly mimic the original surface texture.
Failures, Costs, and Shop Evaluation
Most failed curb rash repairs trace back to three causes: inadequate cleaning, wrong filler, or skipped primer. When you see a repaired wheel where the paint is flaking off in sheets six months later, the surface wasn’t properly degreased or the primer step was skipped. When you see filler cracking along the wheel lip, it’s usually a standard body filler that couldn’t handle the thermal cycling.
On the cost side, curb rash repair cost depends on the severity of damage, the wheel’s finish, and whether you’re doing the work yourself or paying a mobile or shop-based service. A basic kit with sandpaper, filler, primer, and paint runs a modest amount, enough for a single-wheel touchup. Professional mobile repair for a single alloy wheel with moderate rash typically falls in a range that most drivers find reasonable compared to a new wheel. Full shop refinishing, especially for specialty finishes, costs more. Replacing the wheel entirely is the most expensive option but sometimes the right one if the damage is severe or the wheel has a complex factory finish.
When evaluating a shop or mobile service, the kind of search people run as “curb rash repair near me”, ask what filler they use on alloy, whether they prime before painting, and whether the repair includes clear coat. Reviewing all the mobile wheel repair services offered by a provider before booking helps you confirm they handle your specific wheel type and finish. A shop that sprays color directly over sanded aluminum, skipping primer, is cutting the most important corner. Ask to see examples of previous work. A curb rash repair before and after photo set tells you more than any promise. Look specifically at the wheel lip edge, that’s where sloppy shaping and poor filler work show up first.
Realistic Repair Expectations
A well-executed repair on a standard painted or silver alloy wheel can be nearly invisible from a few feet away. Up close, under direct light, you may still see a slight difference in texture where filler was used, or a faint line where the new clear coat meets the original. That’s normal. Factory finishes are applied in controlled environments with baked-on coatings; a field repair, even an excellent one, is working with different constraints.
On machined or chrome wheels, the visual match will be less perfect. The repair will protect the metal and look clean, but the original surface pattern won’t be replicated. Set expectations accordingly, especially if you’re paying a shop and want to know what “done” looks like before you approve the work.
For anyone doing this at home, the checklist is straightforward. Clean the wheel completely and degrease the damaged area. Sand through a proper grit progression to remove all rough and oxidized metal. Fill deep gouges with a metal-reinforced filler and shape the edge to match the wheel’s original contour. Prime with an adhesion-promoting primer over bare alloy. Paint, let it cure, and seal with clear coat. Let the clear coat fully cure before driving, rushing this last step is a common mistake that leads to early damage.
How to fix curb rash on wheels isn’t a mystery. It’s a refinishing job in miniature, and the materials and sequence are what separate a repair that holds up from one that doesn’t. Get the prep right, choose the right filler for aluminum, and don’t skip the protective layers. The wheel won’t know it was ever scraped. You’ll know, but only if you look very closely.