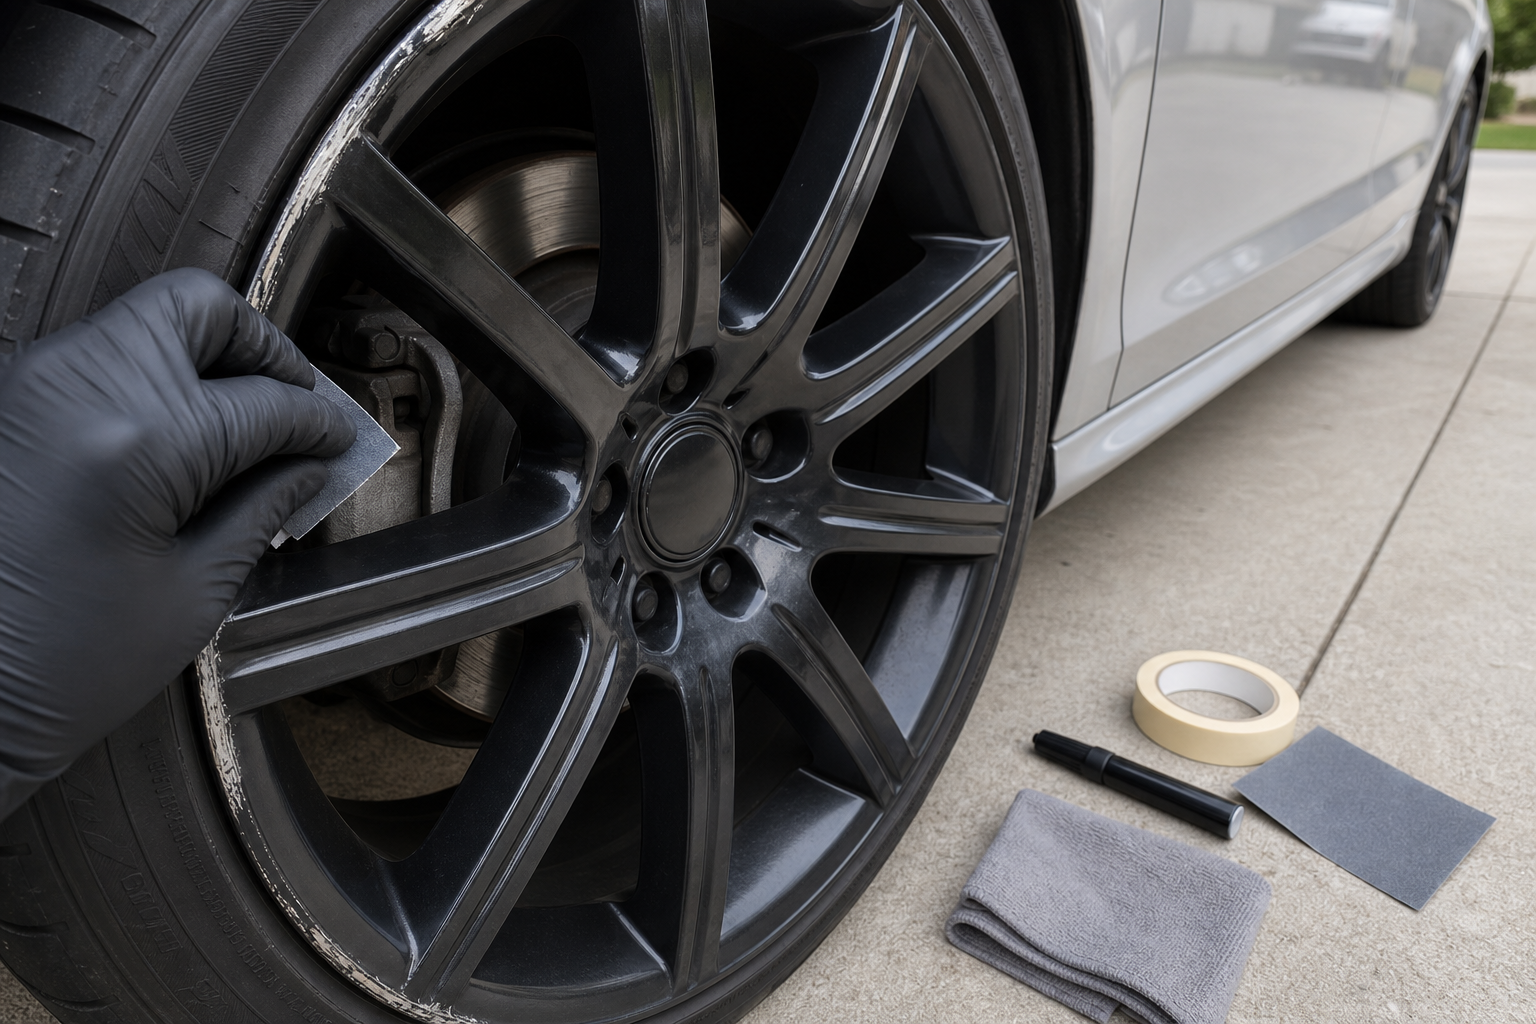
Assessing the Damage Level
You clip a concrete curb in a tight parking lot or a drive-thru lane, and instantly there’s a bright silver scuff screaming against your black rim, visible from ten feet away. The good news is that you can fix curb rash on black rims at home, and the repair can genuinely disappear, but only if you clean the wheel, sand down the rough metal, fill deep gouges where needed, and apply matching black touch-up paint or wheel spray with the right sheen. The difference between a repair that blends and one that looks worse than the original damage comes down to finish matching, gloss, satin, or matte, and getting prep right before paint ever touches the wheel.
Before you buy anything, figure out what you’re dealing with. Black wheels punish sloppy repairs more than any other color because every sheen mismatch, every sanding halo, and every texture difference catches light differently. Know whether your wheel is a painted alloy (most common), a machined face with black-painted pockets, or a powder-coated matte finish. Each type responds differently to sanding and paint.
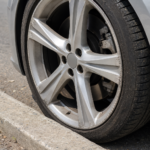
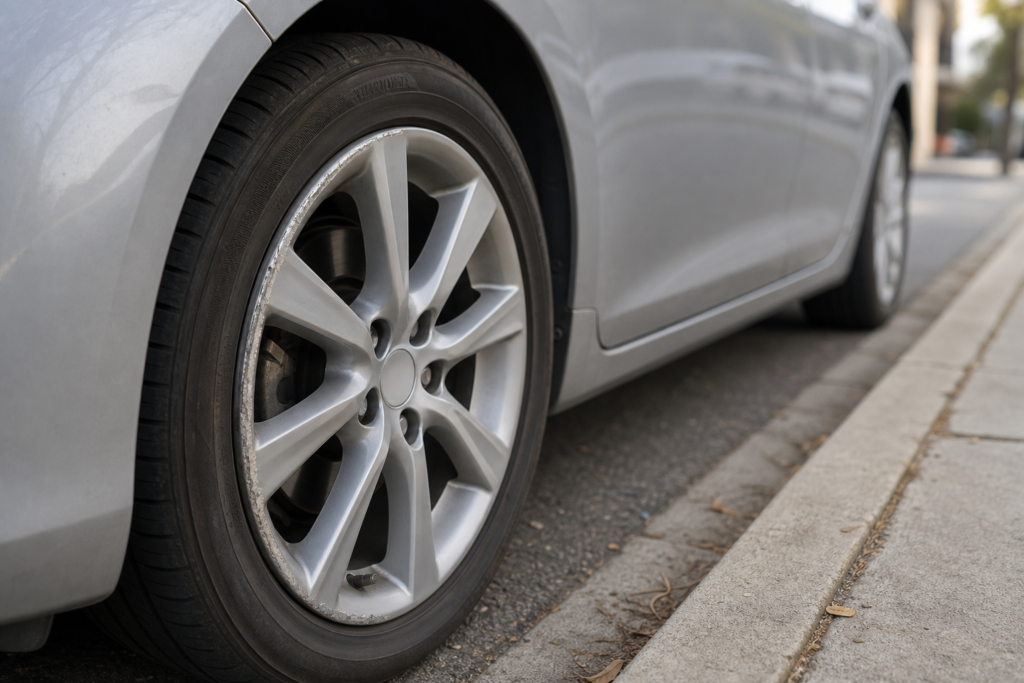
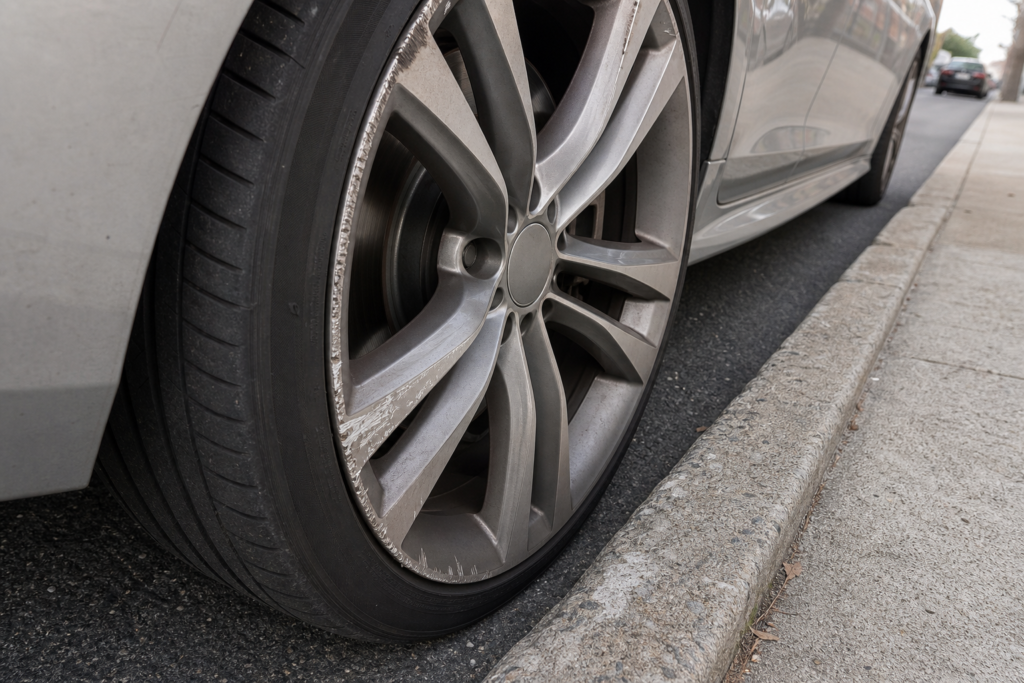
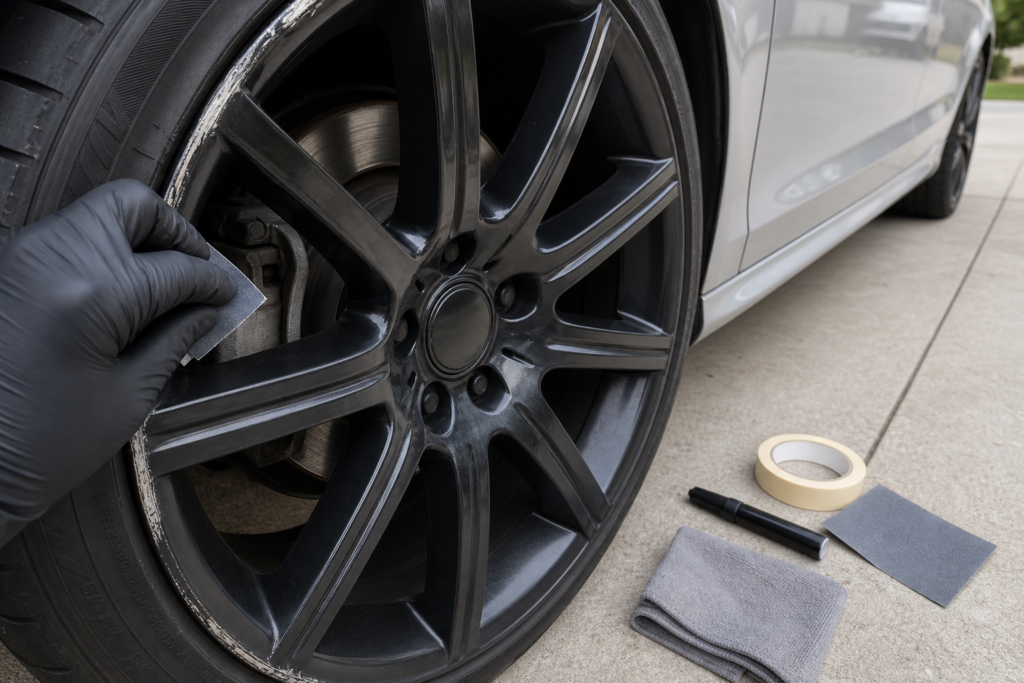
Light Scuffs (Paint Transfer Only): The curb left rubber or concrete residue on the surface, but the wheel’s own paint is intact underneath. A solvent wipe or light polish removes these without any painting at all. Medium Rash (Paint Removed, Small Metal Burrs): The black coating is gone in spots, and you can feel small raised burrs or rough texture with your fingernail. Raw aluminum or alloy is exposed, and this is the most common curb rash and the sweet spot for a DIY fix. Deep Gouges (Missing Metal, Deformed Edges): Chunks of alloy are missing or the rim lip is visibly deformed. Filler can rebuild some of this, but structural integrity matters here.
Stop if you see cracks through the alloy, a bend that affects the wheel’s roundness, any air leak at the tire bead, or damage that extends into the bead seat area. Cosmetic fixes do not address structural problems, and a compromised wheel is a safety issue at highway speed.
Cleaning, Sanding, and Masking
Most of the work in this repair happens before the can of paint comes out. Skimp here and the finish fails within weeks.
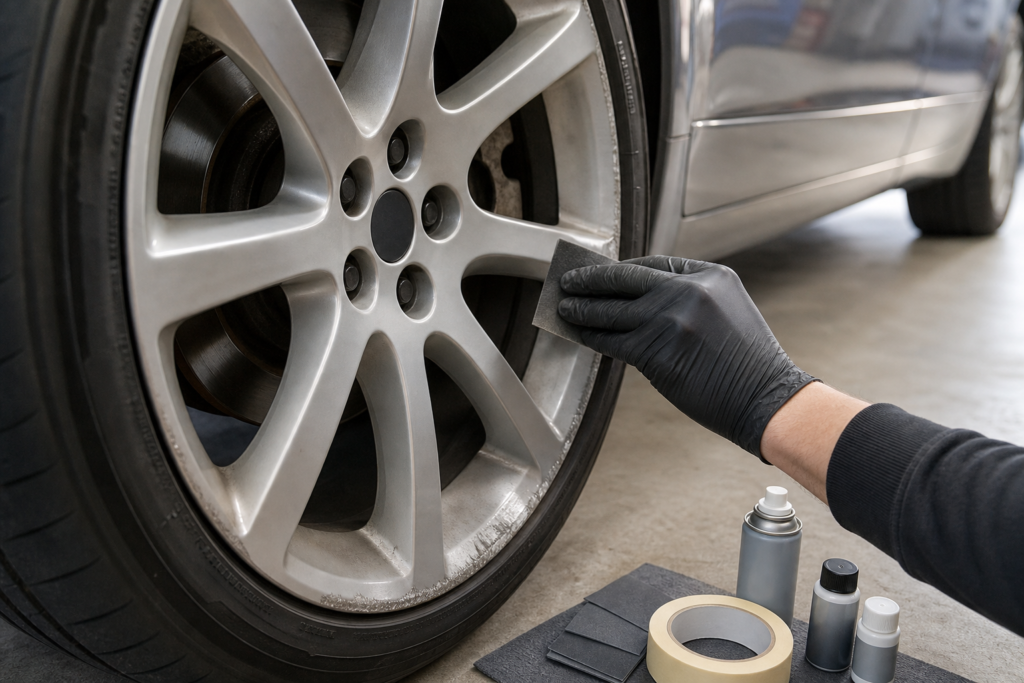
You will need a wheel cleaner or degreaser and, if the wheel has embedded brake dust, an iron remover. Plan on sandpaper in a range of grits, roughly 180 through 800 for sanding stages, up to 1500 or 2000 for final smoothing before paint, plus painter’s tape and masking paper or plastic, a tack cloth, and microfiber towels. If your damage is deep, have a metal or aluminum-compatible body filler or glazing putty ready. For paint, choose between a touch-up pen, aerosol wheel paint, or a two-part (2K) aerosol, plus a clear coat that matches your finish type. A packaged black rim scratch repair kit bundles sandpaper, primer, paint, and clear in one box and works fine for light-to-medium rash on common gloss black wheels, but kits make less sense for matte or satin finishes where sheen matching requires more specific products.
Wash the wheel thoroughly with a dedicated wheel cleaner, remove all brake dust, road grime, and any wax or sealant, then dry completely. Mask the tire sidewall with painter’s tape and plastic sheeting, and if the wheel stays on the car, mask the brake caliper and rotor area too. Removing the wheel gives the best access, use jack stands, never just a jack, but most light-to-medium repairs work fine with the wheel mounted.
Sand the damaged area starting with a coarser grit (around 180 to 220) to knock down metal burrs and rough edges, then progress through finer grits (320, 400, 600) to smooth the transition between damaged and undamaged paint. Feather the edges so there is no hard lip where old paint meets bare metal, and keep the sandpaper flat against the rim’s contour to avoid creating low spots, especially on the rim lip where the curved profile matters. When the surface is smooth to the touch and the edges blend gradually into the surrounding paint, stop sanding and assess. If the surface is level with the rest of the rim, you are ready for primer and paint, and if there is still a depression or missing material, that is where filler comes in. Filling Deep Gouges: A curb rash filler for aluminum wheels, typically a metal-reinforced body filler or a fine glazing putty, rebuilds the lost contour. Apply thin layers, let each cure fully per the product’s directions, then sand back to match the wheel’s profile using the same grit progression. Filler works for cosmetic depth, not structural reconstruction, and if the gouge is deep enough that filler would be more than a couple of millimeters thick, a professional refinish is the better path.
Matching and Applying Black Paint
This is the step that separates an invisible repair from an obvious one. The single biggest DIY failure point on black rims is a sheen mismatch. Gloss black paint on a satin black wheel creates a shiny patch that looks wet in certain light, and matte clear over a gloss system dulls the entire repair. You have to identify your wheel’s exact finish before buying anything.
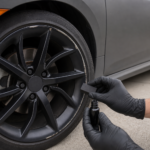
When choosing touch up paint for curbed black rims, you have three main options. A touch-up pen works for tiny chips and pinpoint scuffs, it is precise but cannot cover a larger rash area evenly. Aerosol wheel paint (1K, single-component) is the most common DIY choice, easy to spray, available in gloss, satin, and matte black, and good enough for most repairs. A 2K aerosol, where you activate a hardener in the can before spraying, produces a more durable, chemical-resistant finish closer to factory quality, but you have a limited working window once activated.
If bare metal or filler is exposed, lay down a self-etching primer first. One to two light coats, with flash time between them, gives the color coat something to grip.
Apply the black paint in light, even passes. Hold the can at the distance the label specifies, usually around eight to twelve inches, and build color in three to four thin coats rather than one heavy one. Feather each pass slightly beyond the repair area to blend the edge into the existing finish, and allow the recommended flash time between coats. For gloss black wheels, clear coat is essential because it creates the depth and shine, and a 1K clear is simpler while a 2K clear is tougher and more resistant to brake dust and wheel cleaners but requires good ventilation and a respirator. For matte and satin finishes, some systems skip clear entirely while others use a matte-specific clear, and adding a standard gloss clear to a matte wheel ruins the look instantly.
Alternative Repair Options
Not every repair is worth the sandpaper-and-spray route. Plasti Dip offers a peelable, temporary coating that can mask curb rash on black rims without committing to a permanent repair. It works best as a stopgap on daily drivers where you plan to refinish later or on wheels you are not attached to long-term.
Thick application hides light rash reasonably well, but thin coats over deep gouges look cheap. Durability is moderate, expect to recoat every season or two with regular driving.
After any repair, adhesive rim edge guards or protectors add a sacrificial buffer against future curb contact. They do not fix anything, but they prevent repeat damage to a fresh repair. A professional refinish, either a mobile spot repair or a full off-car refinish, makes sense when the damage is structural, when you are working on forged or high-end multi-piece wheels, or when your time is worth more than the cost difference. Owners of specialty vehicles might look into services like tesla wheel repair in orange county or similar marque-specific shops that understand OEM finishes and color-matched coatings. Realistic cost context is that a basic DIY touch-up with a pen or small aerosol runs very little, a more involved DIY job with filler, primer, paint, and clear costs moderately more in materials, a mobile spot repair from a wheel specialist typically falls in a higher range per wheel, and a full professional refinish per wheel costs more still. The curb rash black rims cost to fix at a shop varies widely by market and wheel size, but the tradeoff is a factory-level finish and a warranty on the work.
Aftercare and Prevention
Fresh paint needs time to harden. Avoid washing the repaired wheel for at least a few days after the final coat, and when you do wash it, skip aggressive wheel acid cleaners for the first couple of weeks and use a pH-neutral soap and a soft mitt. Once the paint has fully cured, check the product label, but a week or two is a reasonable baseline for 1K products and 2K cures faster, apply a wheel-specific sealant or wax to protect the new surface.
Prevention is mostly about parking habits. Use your side mirrors to gauge curb distance, pull forward slowly rather than cutting tight, and consider that a slightly wider tire or a tire with a pronounced rim protector ridge on the sidewall can help, though these are not foolproof and vary by tire model.
Finish Matching Makes the Repair
The process is straightforward: assess the damage, prep the surface with thorough cleaning and proper sanding, fill where material is missing, then match the paint and clear coat to your wheel’s exact sheen. A gloss black wheel needs gloss black paint and gloss clear. A satin wheel needs satin-specific products. A matte wheel needs matte paint and either matte clear or no clear at all. Get that match right and the repair disappears. Get it wrong and you have traded a silver scuff for a mismatched black patch that looks just as bad.
Perfect invisibility on a deep gouge is hard, even pros acknowledge that. But a careful DIY repair on light-to-medium curb rash, done with the right grit progression and the correct finish, holds up well and costs a fraction of a shop visit. And if the damage is beyond cosmetic, knowing when to hand it off to a specialist is its own kind of good decision.