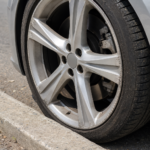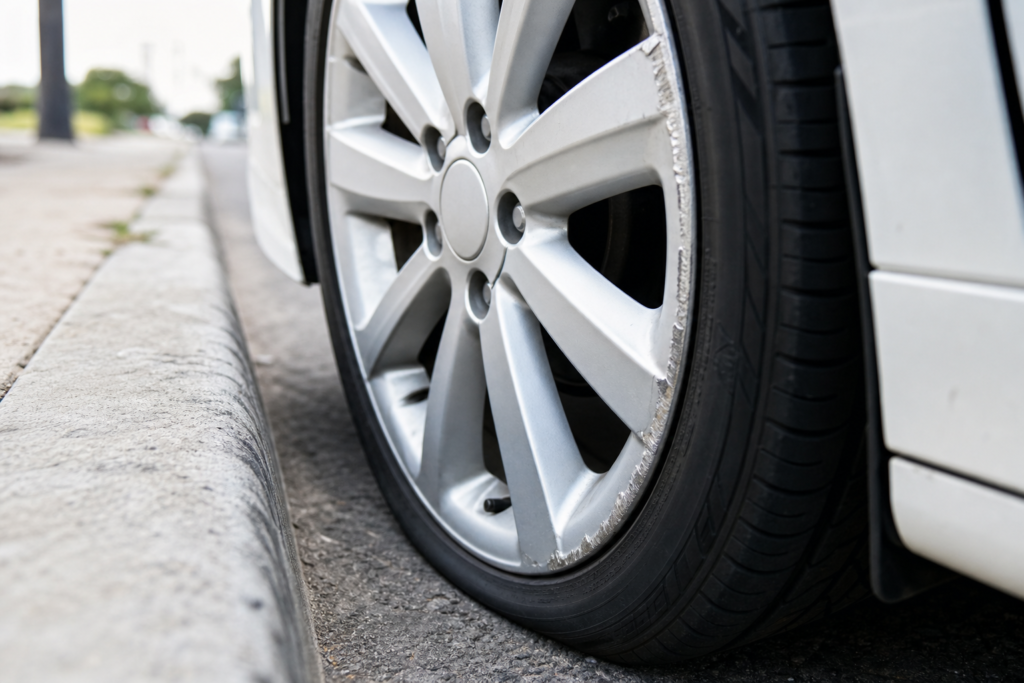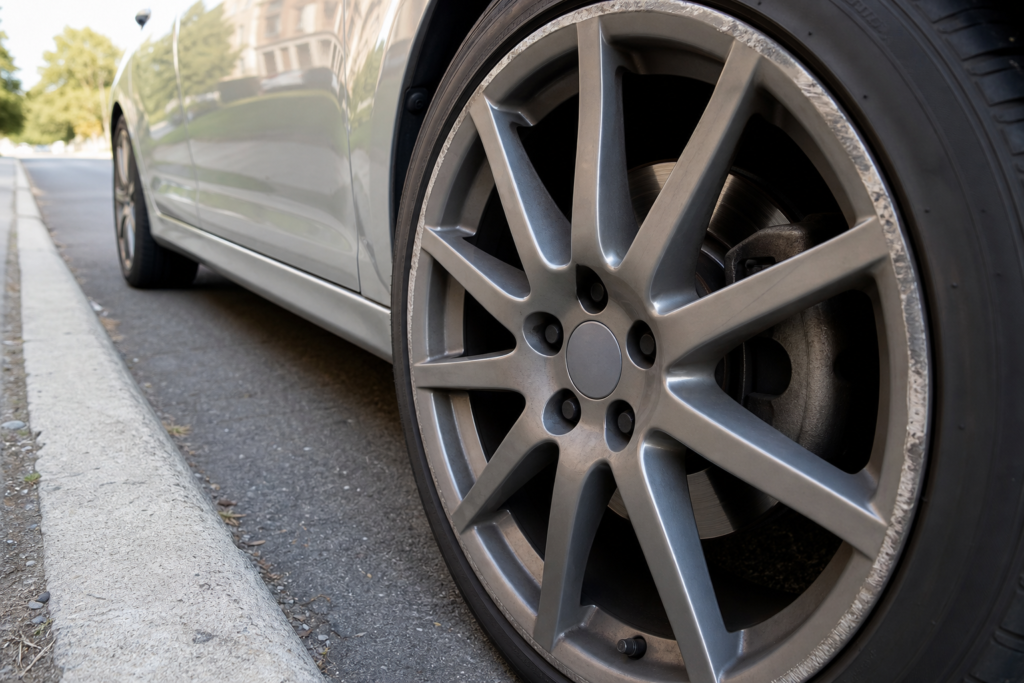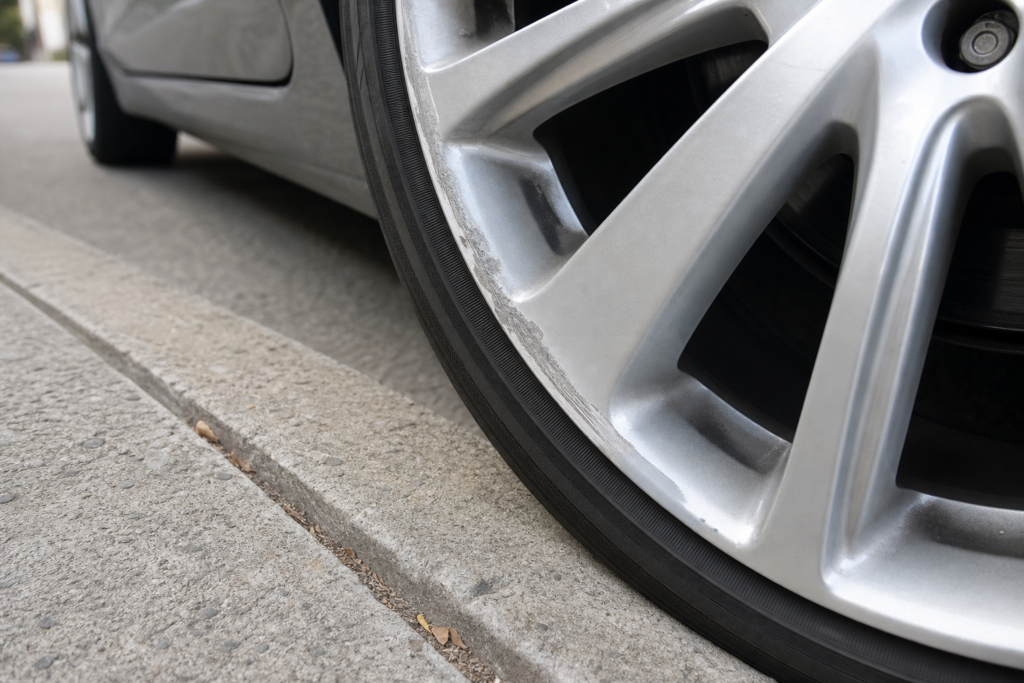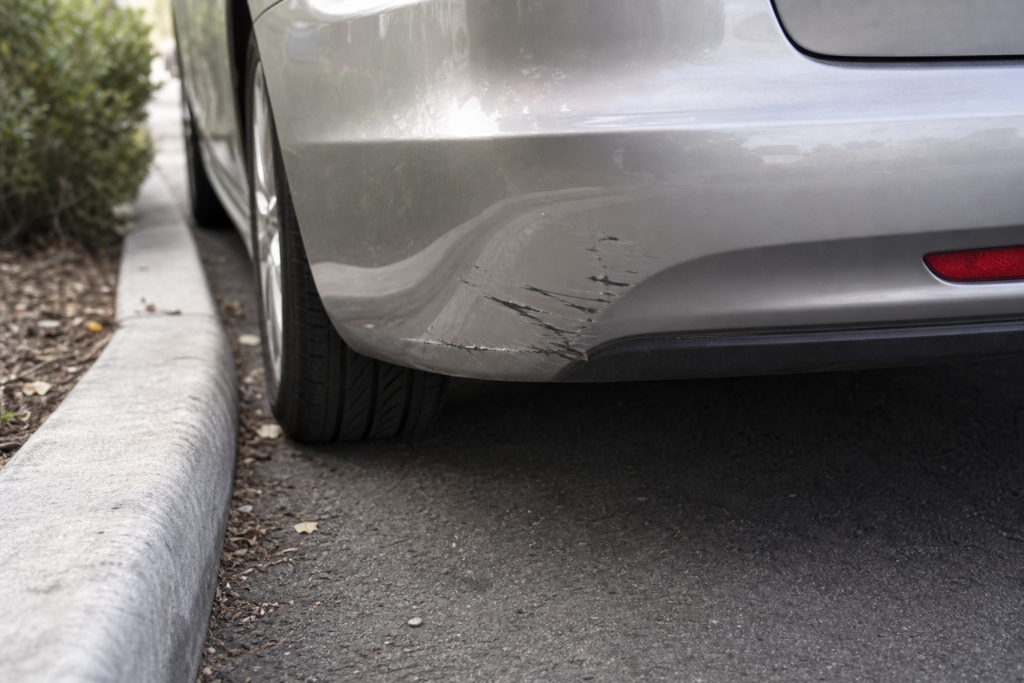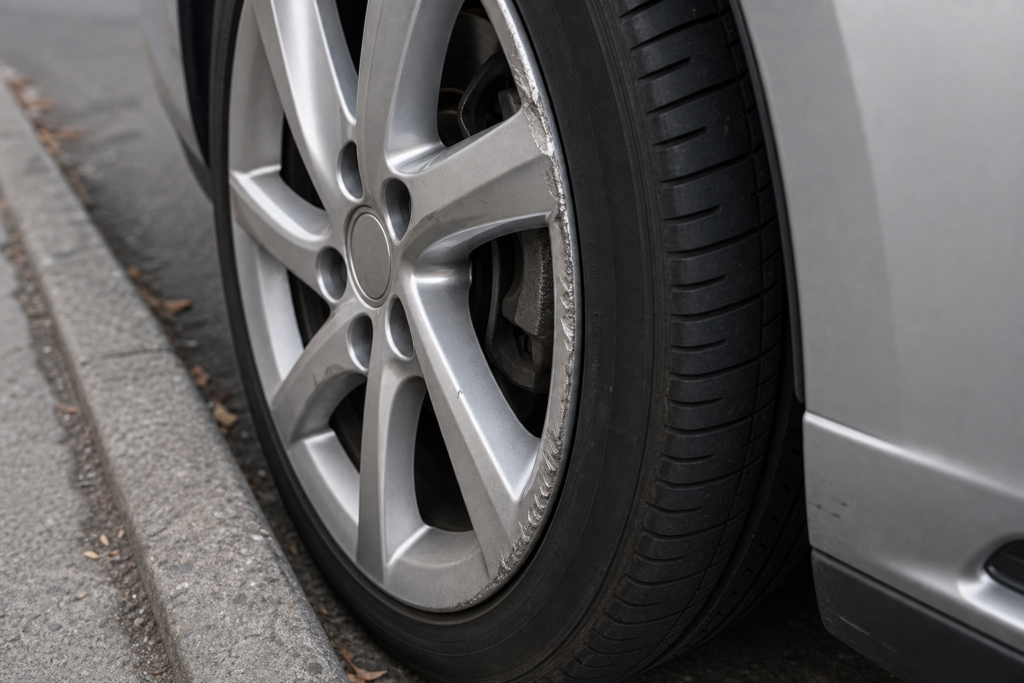
You hear it before you see it, a grinding scrape as the outer lip of your alloy rim drags against a parking garage curb or a drive-thru island you cut too tight. You pull forward, step out, and there it is, a rough, silver-white gouge running along the wheel’s edge where paint and clear coat used to be.
What follows is what a real curb rash repair process looks like from start to finish, what each step actually does for durability, and how to decide whether the damage warrants a DIY weekend project, a professional restoration, or a new wheel entirely.
Cosmetic vs. Structural Damage
Most curb rash affects three layers: the clear coat, the paint or machined finish beneath it, and the aluminum substrate itself. A light scrape might only scuff the clear coat and leave shallow scratches in the paint. A harder hit gouges into the aluminum, removing material and deforming the wheel lip’s edge. The distinction matters because it determines both repair complexity and safety.
Before thinking about cosmetics, rule out structural damage. If the wheel lip is visibly bent inward or outward, if there are cracks radiating from the impact zone, if the tire is losing air pressure, or if you feel new vibration at speed, that wheel needs professional inspection, and possibly replacement. A curb rash fix on a structurally compromised wheel is wasted effort and a safety risk. If the damage is cosmetic only, scrapes, gouges, and roughness confined to the surface, the repair process applies.
Here’s why timing matters even for cosmetic damage: exposed aluminum oxidizes. Unlike steel rust, aluminum oxidation creates a layer of pitting that spreads beneath adjacent paint and clear coat. A scrape left untreated for weeks or months will develop small craters in the bare metal, making the eventual repair harder and less durable. Every prep step that follows exists partly to address or prevent this oxidation cycle. The sooner you fix curb rash on aluminum wheels, the cleaner the substrate you’ll have to work with.
Full Repair Process
The sequence is straightforward in concept, demanding in execution. Each stage builds on the last, and skipping any of them is how repairs fail within months.
Cleaning comes first. Brake dust, road film, and any wax or tire dressing near the damaged area need to come off completely. Residue left on the surface will prevent filler and primer from bonding. A degreaser and a stiff brush handle this, the goal is chemically clean metal and surrounding finish.
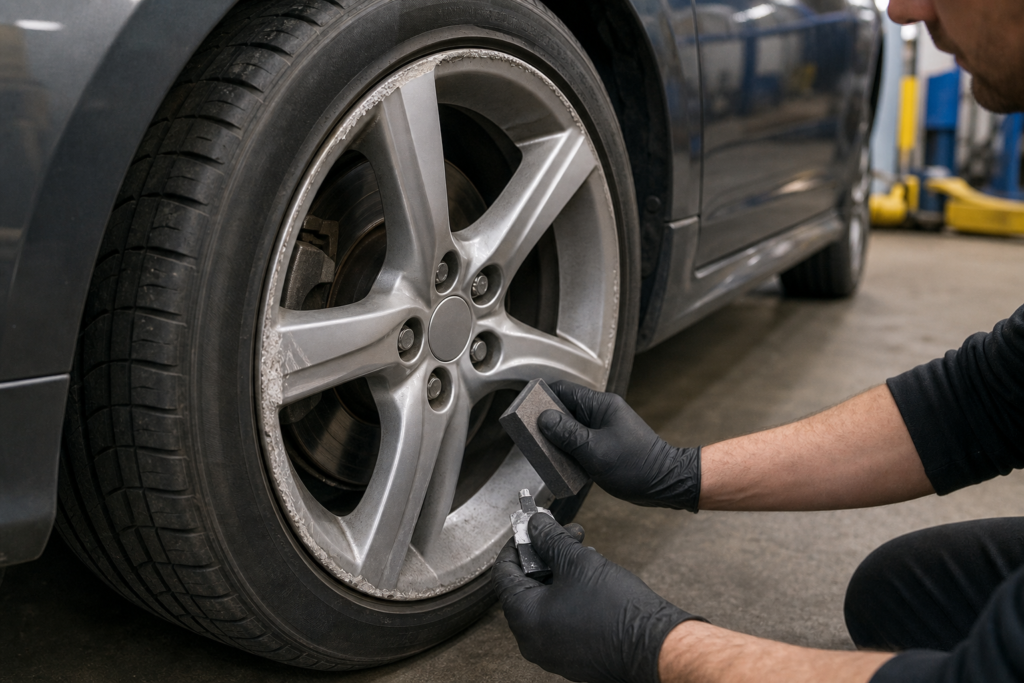
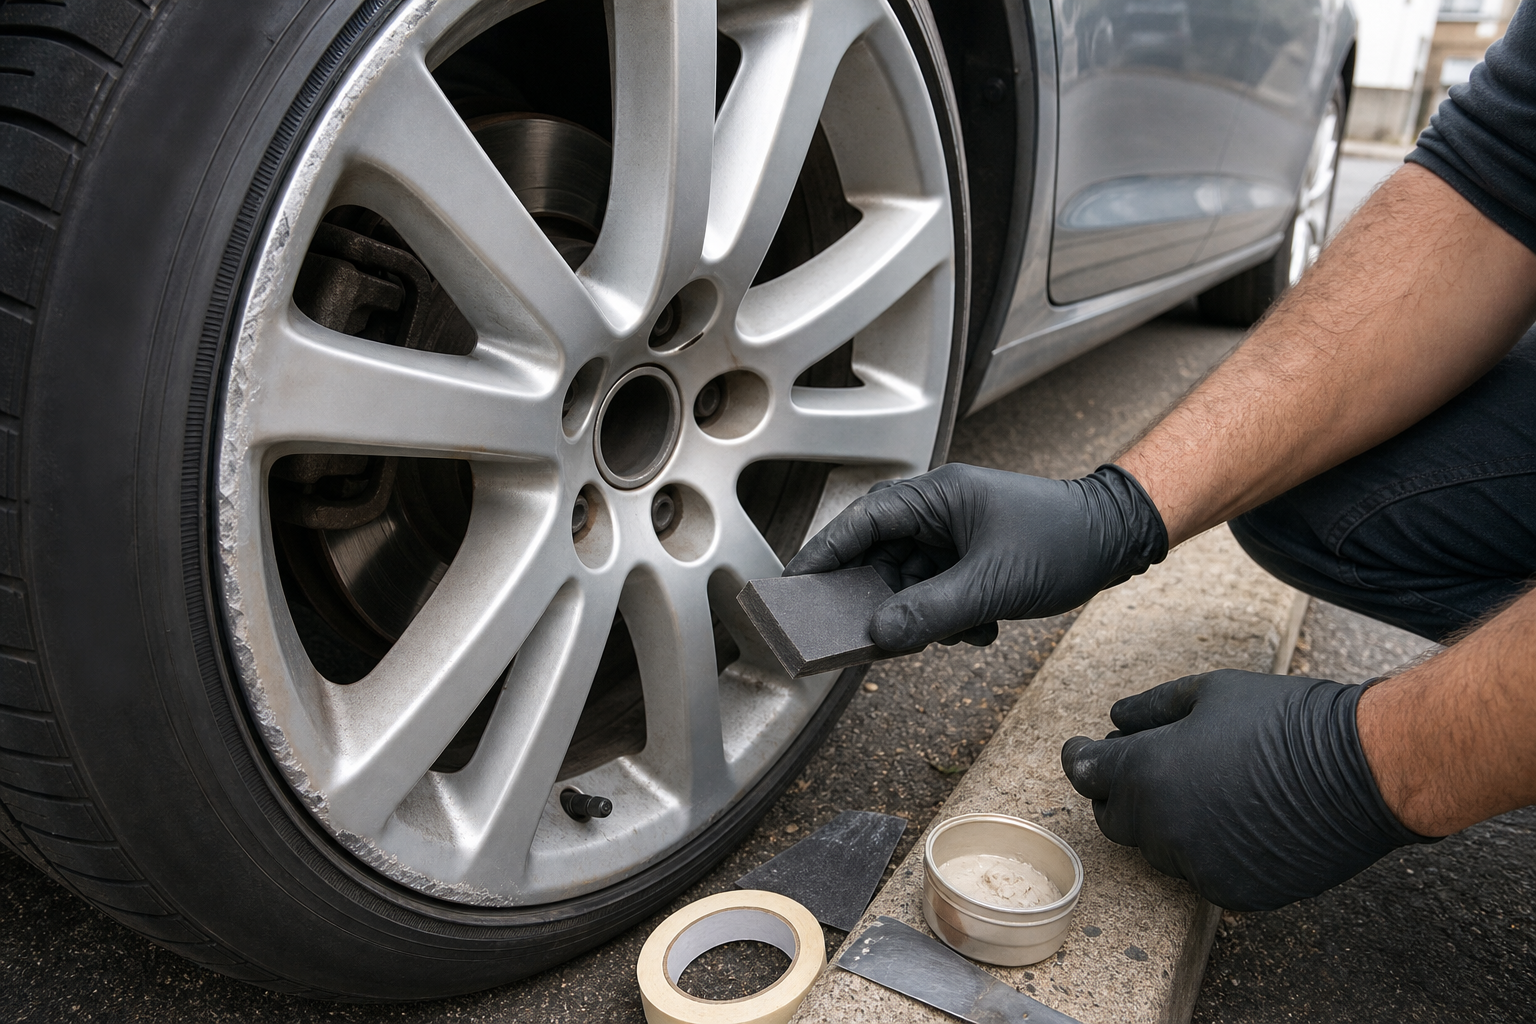
Sanding and feathering is where the real prep happens. Using progressively finer grits, you sand the damaged area back to bare, bright aluminum, removing all oxidation, loose paint, and rough edges. The border between bare metal and intact finish gets feathered into a gradual taper so there’s no hard edge for new coatings to lift from. This is the step most people underestimate. If oxidation or old clear coat remains under new filler, the repair will bubble or peel. Prep to clean metal is the difference between a lasting fix and a cosmetic patch. Shaping the edge matters on lip damage, since a curb often rolls the aluminum slightly and leaves a rough, uneven profile, so filing or sanding the lip back to a smooth contour before filling helps the final shape match the rest of the wheel.
Filling deep gouges requires a metal-reinforced body filler, not generic Bondo, but a product designed for aluminum substrates with metal particulate for strength. You mix it according to the manufacturer’s ratio, apply it in thin layers rather than one thick pass, and shape each layer to approximate the wheel’s contour. Thin layers cure more evenly and resist pinholes, which are tiny air pockets that become visible defects after painting. Once cured, you sand the filler smooth and flush with the surrounding surface, checking the contour by hand and eye. Priming seals the repair, a self-etching primer bonds to bare aluminum, creating a barrier against oxidation and giving the topcoat something to grip. Without primer, paint applied directly to aluminum or filler will eventually lose adhesion. Painting or clear-coating is the final stage, and this is where finishing paths diverge significantly: painted wheels get color-matched paint in light coats, then clear coat; machined-face wheels need to be re-machined on a lathe and re-cleared; chrome-plated wheels require stripping and re-plating the entire wheel, making spot repair essentially impossible for a true chrome finish. Proper curing time, often 24 hours or more depending on temperature and product, matters for hardness and durability, and rushing this stage leads to soft, easily damaged finishes.
DIY vs. Professional Restoration
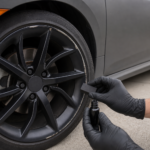
A DIY curb rash repair is realistic for painted wheels with moderate damage. A curb rash repair kit typically includes sandpaper in several grits, filler, primer, and a paint pen or small spray can. With patience and a free weekend, a careful DIYer can produce a result that’s hard to spot at conversational distance, especially on darker or solid-color wheels.
Where DIY results fall short is finish matching. Metallic silvers, multi-tone finishes, and any color with visible flake are difficult to blend without professional spray equipment and mixing. The paint pen from a kit rarely matches perfectly under direct sunlight or angled viewing. Machined-face wheels are effectively off-limits for home repair because the distinctive lathe pattern can’t be replicated by hand. And chrome wheels, as noted, require full re-plating.
A professional wheel shop has a spray booth, color-matching software, lathe equipment for machined faces, and ovens for accelerated curing. The gap between DIY and pro shows most clearly in durability and invisible blending. A shop repair on a painted wheel, done well, is often indistinguishable from factory. That said, for a minor scrape on a daily driver’s painted alloy, a weekend DIY fix that stops oxidation and looks clean from a few feet away is a perfectly reasonable outcome. Honest self-assessment of the damage depth, the finish type, and your tolerance for imperfection is the real decision filter.
Repair Costs and Price Factors
Curb rash repair cost varies widely, driven by a handful of factors: how deep and extensive the damage is, the wheel’s finish type, the diameter of the wheel, and whether the shop needs to refinish the entire face or just blend a section. Larger-diameter wheels cost more because they require more material and more labor to refinish evenly. Machined-face repairs cost more than standard painted repairs because of the lathe work. Chrome re-plating is the most expensive option and can sometimes approach the cost of a replacement wheel.
Severity tiers matter. A shallow scuff that only needs sanding, primer, and clear coat is the least expensive repair. A deep gouge requiring filler, contouring, and full-face refinishing costs significantly more. If multiple wheels need work, some shops offer per-set pricing.
Curb rash repair before and after results vary by finish type. On a solid-color painted wheel, a good repair is nearly invisible. On metallic paint, close inspection under direct light may reveal slight texture or color differences at the blend edge, this is normal and expected even from professional work. On machined faces, results depend entirely on the shop’s lathe capability. Managing expectations here saves frustration: “perfect” is possible on some finishes and “very good” is the realistic ceiling on others.
Evaluating Whether to Repair
Whether curb rash repair is worth it depends on context. For lease returns, repairing curb rash before turn-in almost always costs less than the damage charge the dealer will assess. For resale, visibly damaged wheels lower perceived vehicle condition disproportionately, buyers notice wheels. For corrosion prevention, even a modest repair that seals exposed aluminum extends the wheel’s life. And for some owners, the scrape simply bothers them every time they walk to the car, which is reason enough.
If you search for curb rash repair near me and find local shops, evaluate them on process, not promises. A good shop will describe the prep and finishing steps, specify whether they’ll refinish the full face or spot-repair, and tell you what finish type your wheel has before quoting. A specialist that lists all the mobile wheel repair services offered gives you a clear picture of capabilities before you commit. The estimate should note the number of wheels, the severity, and any limitations. Red flags include shops that quote without seeing the wheel, promise same-day turnaround on deep damage, or can’t explain how they handle primer and clear coat. A shop that skips primer or applies filler over oxidized metal is delivering a repair that will fail.
Practical Decision Framework
The decision tree is simple once you’ve assessed the damage and identified your wheel’s finish. Cosmetic-only damage on a painted wheel with no structural concerns is a reasonable DIY project: clean the metal, sand to bare aluminum, fill if needed, prime, paint, clear, and cure. If the finish is machined or chrome, or if the damage is deep and extensive, a professional shop will deliver results a kit can’t match. And if the wheel is cracked, bent, or leaking air, repair isn’t the conversation, replacement is.
The underlying principle across all of these paths is the same: how to repair wheel curb rash durably means working from clean, oxide-free metal outward. Every layer, filler, primer, paint, clear coat, depends on what’s beneath it. Get the prep right, and the finish holds. Skip it, and the scrape comes back worse than before.