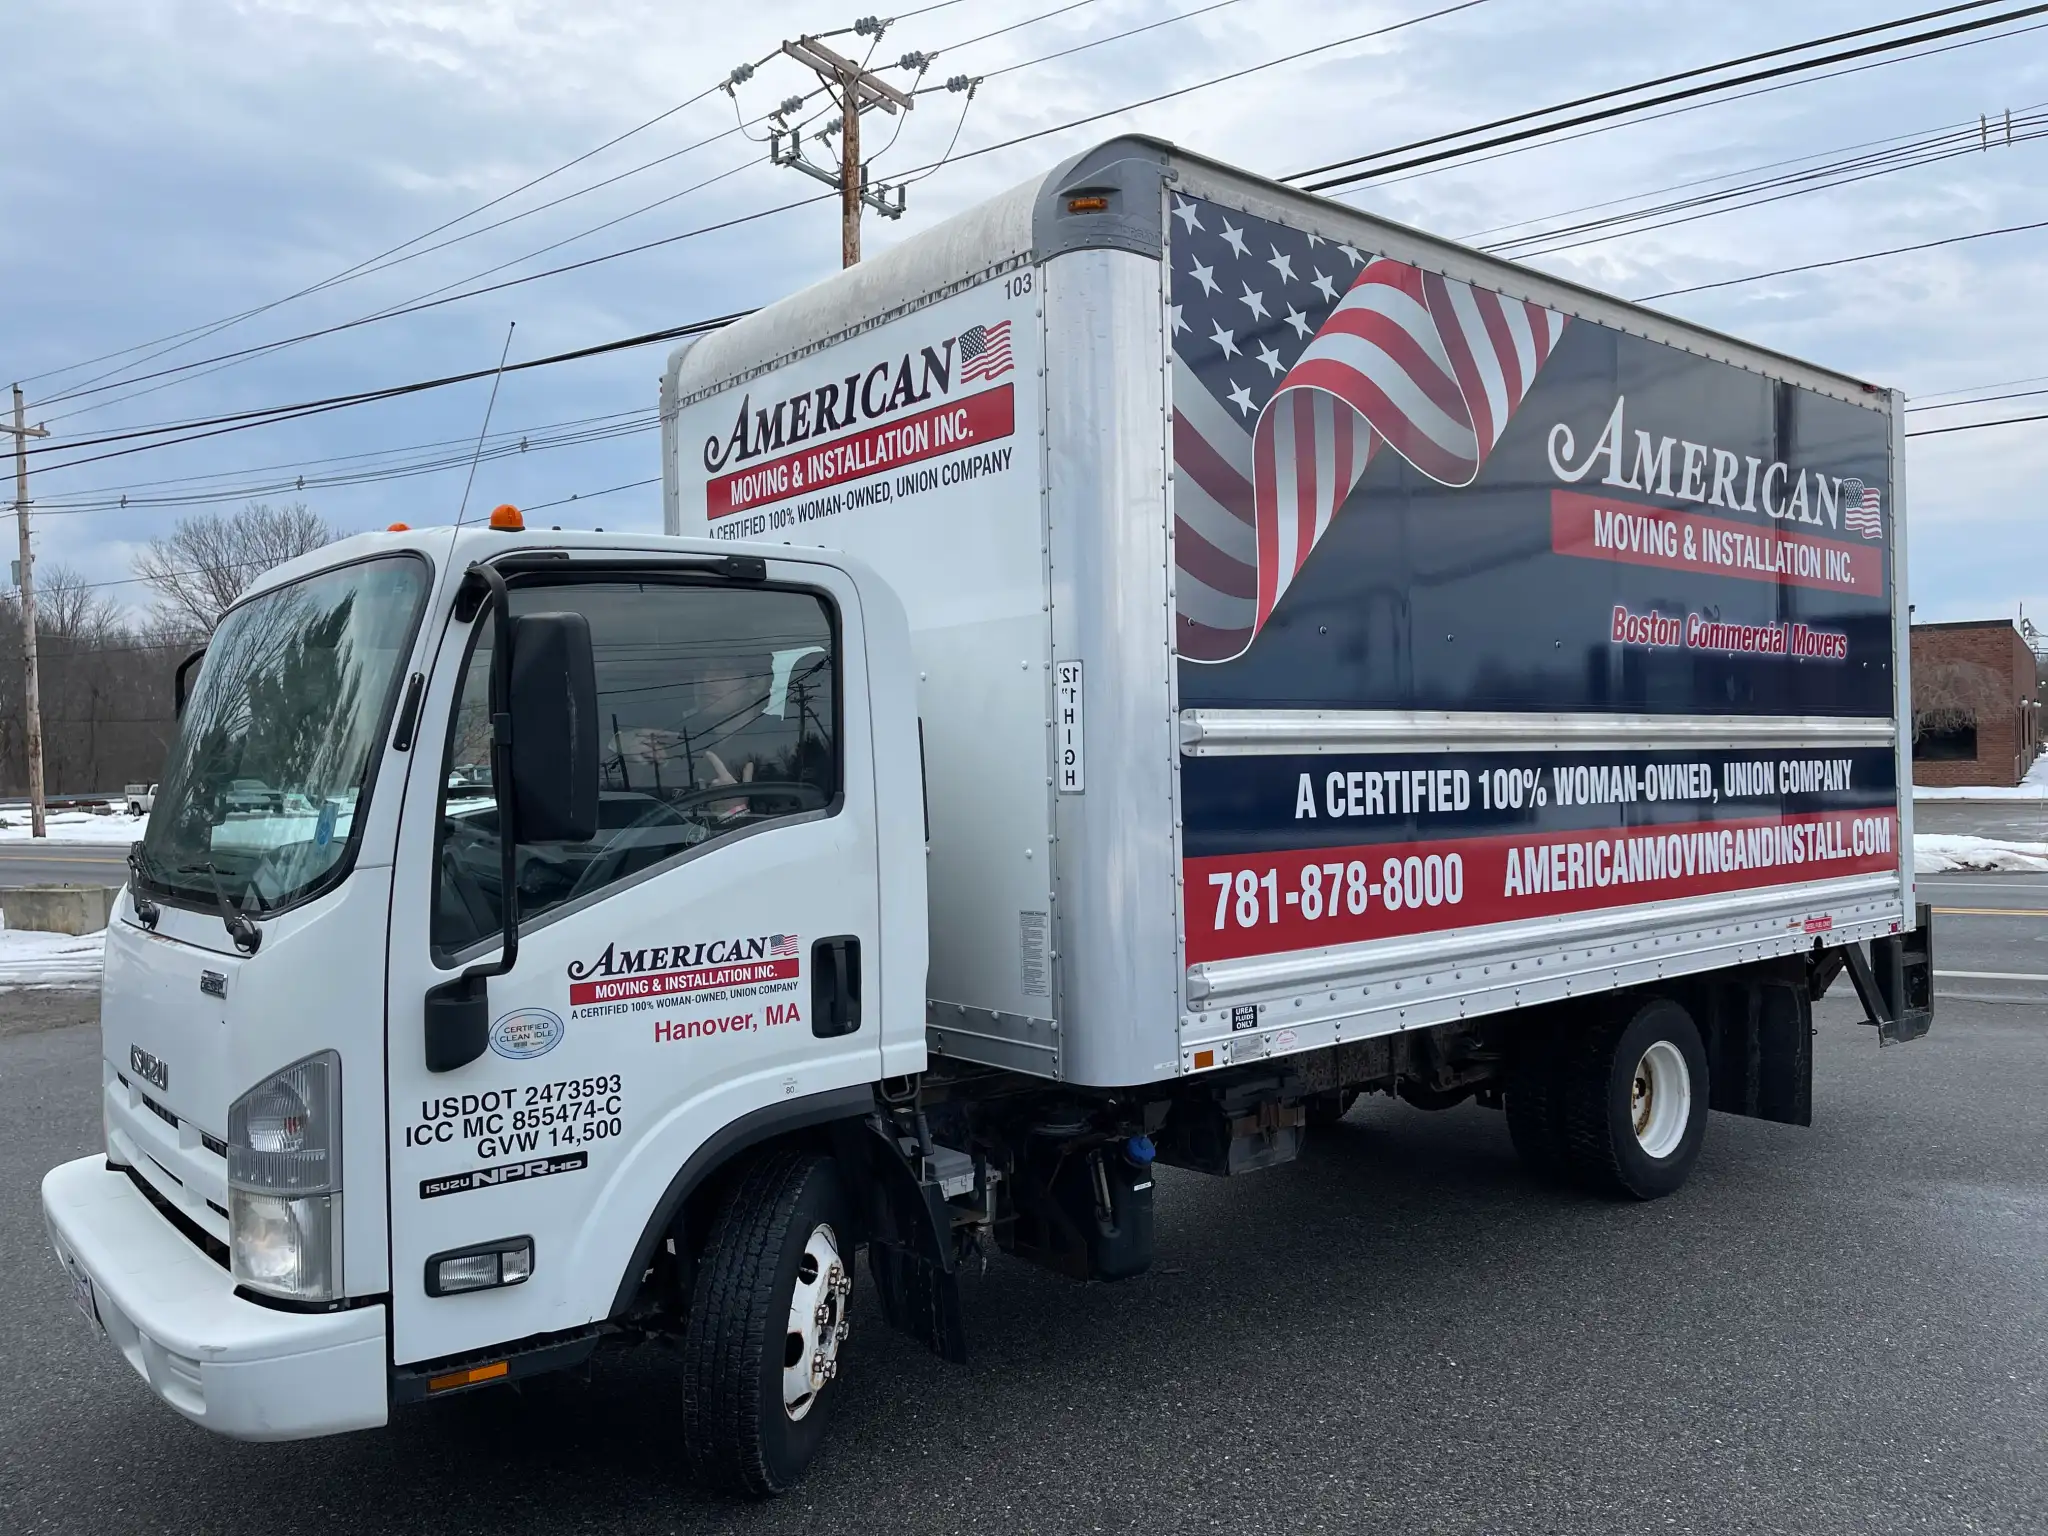
Transform Your Vehicle into a Rolling Billboard
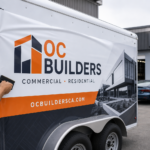
Whether you’re a small business owner looking to maximize your advertising reach or a DIY enthusiast ready to personalize your ride, truck lettering offers an incredible opportunity to make a statement on wheels. Every mile you drive becomes a marketing opportunity, and every parking spot turns into a billboard space.
Let’s dive into everything you need to know about truck lettering. From choosing the right approach to creating designs that turn heads.
After reading this post, if you are looking for truck lettering in Boston, feel free to look at the folks at Wrap4Cars.
DIY vs. Professional Truck Lettering: What’s Right for You?
The first big decision you’ll face is whether to tackle truck lettering yourself or hire a professional. Both approaches have their merits, and the right choice depends on your budget, skills, and goals.
The DIY Approach: Pros and Cons
Pros:
- Cost savings: You can save hundreds or even thousands of dollars by doing it yourself
- Creative control: You’re in charge of every detail, from start to finish
- Accessible technology: Modern tools like Cricut machines can cut vinyl decals as large as individual letters, making professional-looking results achievable at home
- Learning experience: You’ll gain valuable skills you can use for future projects
- Flexibility: Change your design whenever you want without additional labor costs
Cons:
- Time investment: Expect to spend several hours (or even days) on design, cutting, and installation
- Learning curve: Your first attempt may not be perfect—there’s definitely a technique to it
- Equipment costs: While cheaper than hiring a pro, you’ll need to invest in a vinyl cutter, transfer tape, squeegees, and other tools
- Durability concerns: Without professional expertise, your lettering might not last as long or look as polished
- Limited size: DIY equipment has size constraints that might limit your design options
The Professional Approach: Pros and Cons
Pros:
- Expert results: Professionals that do truck lettering have years of experience, creating flawless installations
- Time savings: Your truck could be ready in a day or two
- Advanced equipment: Professionals can handle large-format printing and complex designs
- Warranties: Many shops offer guarantees on materials and workmanship
- Design assistance: You get expert advice on what works and what doesn’t
Cons:
- Higher upfront cost: Professional installations typically range from $500 to $3,000+
- Less hands-on control: You’re relying on someone else’s interpretation of your vision
- Scheduling: You’ll need to work around the shop’s availability
- Travel required: You’ll need to bring your truck to them
The Bottom Line: If you’re going for a simple, bold look with a strong statement, DIY can absolutely deliver great results. For complex multi-color graphics or full wraps, professional installation is usually worth the investment.
Choosing the Right Materials: Not All Vinyl Is Created Equal
The material you choose will significantly impact how long your truck lettering lasts and how good it looks along the way. Here’s what you need to know:
Cast Vinyl vs. Calendered Vinyl
Cast Vinyl is the premium choice:
- Thinner and more conformable to curves and contours
- Lasts 7-10 years or more with proper care
- More expensive (but worth it for long-term installations)
- Resists shrinking, fading, and cracking better than alternatives
- Ideal for: Permanent business lettering, complex curves, and long-term investments
Calendered Vinyl is the budget-friendly option:
- Thicker and less flexible
- Lasts 3-5 years typically
- More affordable for short-term needs
- Works best on flat surfaces
- Ideal for: Temporary promotions, flat surfaces, and budget-conscious projects
Other Material Considerations
Reflective Vinyl: Increases visibility at night—great for safety and attention-grabbing Perforated Window Film: Allows you to add graphics to windows while maintaining visibility from inside Laminated Vinyl: Adds a protective layer that guards against UV rays, scratches, and weathering Magnetic Signs: Perfect for temporary lettering that you can remove when needed (though limited to magnetic surfaces)
Pro Tip: Always choose automotive-grade vinyl specifically designed for vehicle applications. Craft vinyl from your local hobby store won’t withstand the elements or highway speeds.
Installation Tips: Getting It Right the First Time
Proper installation is the difference between lettering that lasts for years and lettering that peels off after a few months. Follow these steps for professional-looking results:
Step 1: Prep Your Surface
- Wash your truck thoroughly with soap and water
- Remove any wax, grease, or residue with isopropyl alcohol or a dedicated surface cleaner
- Ensure the surface is completely dry
- Work in a clean environment (dust and debris are your enemies)
Step 2: Plan Your Layout
- Use masking tape to temporarily position your letters
- Step back and check alignment from multiple angles
- Use a level or measuring tape to ensure everything is straight
- Take photos to reference during installation
Step 3: Temperature Matters
- Ideal installation temperature is 60-80°F
- Too cold: vinyl won’t adhere properly
- Too hot: vinyl becomes too stretchy and difficult to control
- If working outside, choose a mild day or use a heat gun cautiously to warm the surface
Step 4: The Hinge Method
For larger pieces:
- Apply a vertical strip of masking tape down the center of your design
- Peel back one side of the backing paper
- Apply that side first, using a squeegee to work from center to edge
- Remove the hinge tape and repeat on the other side
Step 5: Squeegee Technique
- Use firm, overlapping strokes
- Work from the center outward to avoid air bubbles
- Use a felt-edge squeegee to prevent scratching
- For bubbles, gently lift the vinyl and reapply, or use a pin to release the air
Step 6: Remove Transfer Tape
- Wait a few minutes for the adhesive to bond
- Peel the transfer tape slowly at a sharp angle (back over itself)
- If vinyl lifts with the tape, press it back down and try again
Step 7: Post-Installation Care
- Avoid washing your truck for at least 48 hours
- Don’t use high-pressure washers directly on edges for the first week
- Consider applying gentle heat with a heat gun to help the adhesive cure (carefully!)
Maintenance and Removal: Keeping It Fresh
Maintenance Tips
To keep your truck lettering looking sharp:
Regular Cleaning: Wash your truck regularly with mild soap and water. Avoid harsh chemicals, abrasive cleaners, or automatic car washes with stiff brushes.
Wax Around, Not On: If you wax your truck, avoid getting wax on the vinyl. If you do, it can cause yellowing and adhesive failure over time.
Protect from Extreme Heat: Park in the shade when possible. Prolonged exposure to intense heat can cause vinyl to fade and shrink.
Inspect Regularly: Check for lifting edges or damage. Address small issues before they become big problems.
Quick Fixes: If an edge starts to lift, clean the area and use a heat gun to reactivate the adhesive, then press it back down.
Removal Without Damage
When it’s time to remove your lettering:
- Heat It Up: Use a heat gun or hair dryer to warm the vinyl (don’t overheat—you just want it warm to the touch)
- Start at an Edge: Find a corner and slowly peel at a 45-degree angle
- Keep It Warm: Continue heating as you peel to maintain flexibility
- Go Slow: Rushing increases the risk of tearing the vinyl or damaging paint
- Remove Adhesive Residue: Use a commercial adhesive remover, Goo Gone, or a mixture of warm water and soap
- Final Clean: Wash the area thoroughly and apply wax to restore protection
Important: Never use sharp objects to scrape off vinyl—they can scratch your paint. Patience and heat are your best tools.
Beyond Basic Lettering: Creative Design Ideas
While simple text can be effective, there’s a whole world of creative possibilities with truck lettering.
Make It Bold and Simple
Sometimes less is more. A clean, bold design with a strong statement can be more memorable than cluttered graphics. Think:
- One powerful word or short phrase in large letters
- High-contrast colors (white on black, yellow on blue)
- Minimal details that remain readable from a distance
- Strategic placement that complements your truck’s lines
Incorporate Your Logo and Graphics
Your truck lettering doesn’t have to be just words:
- Add your logo prominently (but ensure it’s visible and clear)
- Use graphic elements that reinforce your brand identity
- Consider silhouettes or simplified icons related to your business
- Layer different vinyl colors for depth and visual interest
Tell Your Brand’s Story
Use your truck as a canvas to communicate who you are:
- Include your tagline or mission statement
- Add a QR code that links to your website or special offer
- Feature customer testimonials or awards
- Showcase before/after photos (great for contractors and service businesses)
Seasonal and Promotional Lettering
Don’t feel locked into one design forever:
- Create removable magnetic signs for seasonal promotions
- Use static cling decals for temporary messages
- Layer special offer decals over your permanent branding
- Swap out window graphics for holiday themes or special events
Match Your Truck’s Personality
Your lettering should complement your vehicle:
- Work trucks: Bold, no-nonsense fonts and high-visibility colors
- Food trucks: Playful, appetizing graphics with menu highlights
- Luxury services: Elegant scripts and sophisticated color palettes
- Construction/contractor: Rugged fonts with tool or blueprint motifs
- Delivery vehicles: Clean, professional with clear contact info
The Business Impact: Truck Lettering as a Marketing Powerhouse
If you’re using truck lettering for business, it’s one of the most cost-effective marketing investments you can make.
Mobile Billboard Benefits
Consider these compelling statistics:
- Vehicle wraps and lettering can generate 30,000-70,000 daily impressions depending on location and miles driven
- 97% of people notice graphics on vehicles
- 29% of people base their buying decisions on graphics they see on vehicles
- Vehicle advertising costs just pennies per impression—far less than traditional advertising
Return on Investment
Let’s break down the math:
- Professional truck lettering: $1,500 average investment
- Expected lifespan: 5-7 years
- Daily impressions: 40,000 (conservative estimate)
- Annual impressions: 14,600,000
- Cost per thousand impressions (CPM): Less than $0.02
Compare that to:
- Billboard: $10-30 CPM
- Radio: $5-15 CPM
- Digital display ads: $1-5 CPM
Your truck lettering pays for itself many times over, working 24/7 whether you’re driving, parked at a job site, or sitting in traffic.
Enhance Your Professional Image
Beyond the numbers, quality truck lettering:
- Builds instant credibility and trust
- Makes your business look established and professional
- Turns every employee vehicle into a brand ambassador
- Creates consistency across your fleet
- Serves as a constant reminder of your services to your community
Legal and Regulatory Considerations
Before you start designing, check your local regulations:
Common Requirements
- DOT Numbers: Commercial vehicles over certain weight limits must display USDOT numbers
- Business License Numbers: Some states require license numbers to be displayed
- Font Size Minimums: DOT numbers typically must be at least 2 inches tall
- Contrast Requirements: Text must be readable and contrasting with the background
- Contact Information: Some jurisdictions require contact info to be visible
Homeowner Association Rules
If you park your work truck at home, check your HOA rules—some restrict commercial vehicle signage in residential areas.
Obscenity and Distraction Laws
Keep it clean and professional. Offensive or excessively distracting graphics could result in fines or being asked to remove them.
Real-World Success Stories
The Local Plumber: A small plumbing company invested $2,000 in lettering for three trucks. Within six months, they tracked a 40% increase in call volume, with many customers saying “I saw your truck in my neighborhood.”
The Food Truck Pioneer: A taco truck owner spent $4,000 on a vibrant, colorful wrap with mouth-watering food graphics. The truck became Instagram-famous, with customers seeking it out specifically for photos. Sales doubled in the first year.
The Contractor’s Fleet: A general contractor standardized lettering across a fleet of 12 trucks. The professional, cohesive look helped them win commercial contracts against larger competitors. The marketing director estimated the fleet generated $100,000+ in new business annually.
The Weekend Warrior: A DIY enthusiast spent $300 on a Cricut machine and vinyl to letter his landscaping side business truck. While it took him a full weekend to perfect the installation, he’s gotten dozens of compliments and several new clients who contacted him directly after seeing the truck.
Industry Spotlights: Truck Lettering Across Sectors
Food Trucks
The ultimate mobile billboard—your truck IS your storefront. Focus on appetizing colors, clear menu items, and social media handles. Make people hungry just by looking at your truck.
Construction and Contractors
Emphasize trust and professionalism. Include license numbers, insurance information, and years in business. Consider adding “family owned” or “locally operated” to build connection.
Delivery Services
Prioritize clarity and brand recognition. Your trucks are everywhere—make sure people know who you are with bold, simple branding.
Landscaping and Lawn Care
Before/after graphics work incredibly well here. Show off your best work, and don’t forget seasonal service reminders.
Cleaning Services
Bright, clean colors reinforce your message. Consider adding review ratings or “100% satisfaction guarantee” messaging.
The Art of Truck Lettering: Design Principles That Work
Great truck lettering follows timeless design principles:
Readability is King
- Your lettering should be readable from at least 50 feet away
- Stick to 2-3 fonts maximum
- Ensure high contrast between text and background
- Avoid overly decorative fonts for primary information
Hierarchy Matters
- Business name should be most prominent
- Phone number second
- Website/additional info third
- Make sure the most important info is largest and most visible
White Space is Your Friend
- Don’t cram every inch with text and graphics
- Allow breathing room around important elements
- Sometimes the unpainted truck color serves as effective background
Color Psychology
- Red: Energy, urgency, appetite (food, emergency services)
- Blue: Trust, professionalism, calm (contractors, healthcare)
- Yellow: Visibility, optimism, caution (moving services, construction)
- Green: Growth, nature, eco-friendly (landscaping, organic products)
- Black: Sophistication, luxury, power (premium services)
Test Your Design
Before committing:
- Print it out at scale or use design software to visualize it on your truck
- Test it at various distances
- Show it to people unfamiliar with your business—can they read it quickly?
- Drive your truck to different locations to see how it looks in various lighting
Your Turn: Start Your Truck Lettering Journey
Whether you’re leaning toward DIY or professional installation, ready to make a bold statement or tell your brand’s story, truck lettering is a powerful tool waiting to be unleashed. Your truck is already on the road—why not make it work harder for you?
Ready to Get Started?
- Define your goals: Brand awareness? Phone calls? Web traffic?
- Set your budget: DIY ($200-500) or professional ($500-3,000+)?
- Design your concept: Simple and bold, or complex and detailed?
- Choose your materials: Cast vinyl for longevity, calendered for short-term
- Plan your installation: DIY weekend project or professional appointment?
- Measure your results: Track how many people mention seeing your truck
The road is your canvas, and every mile is an opportunity to grow your business or express your style. Whether you’re cutting vinyl in your garage or working with a professional shop, truck lettering transforms your vehicle from simple transportation into a powerful marketing machine.