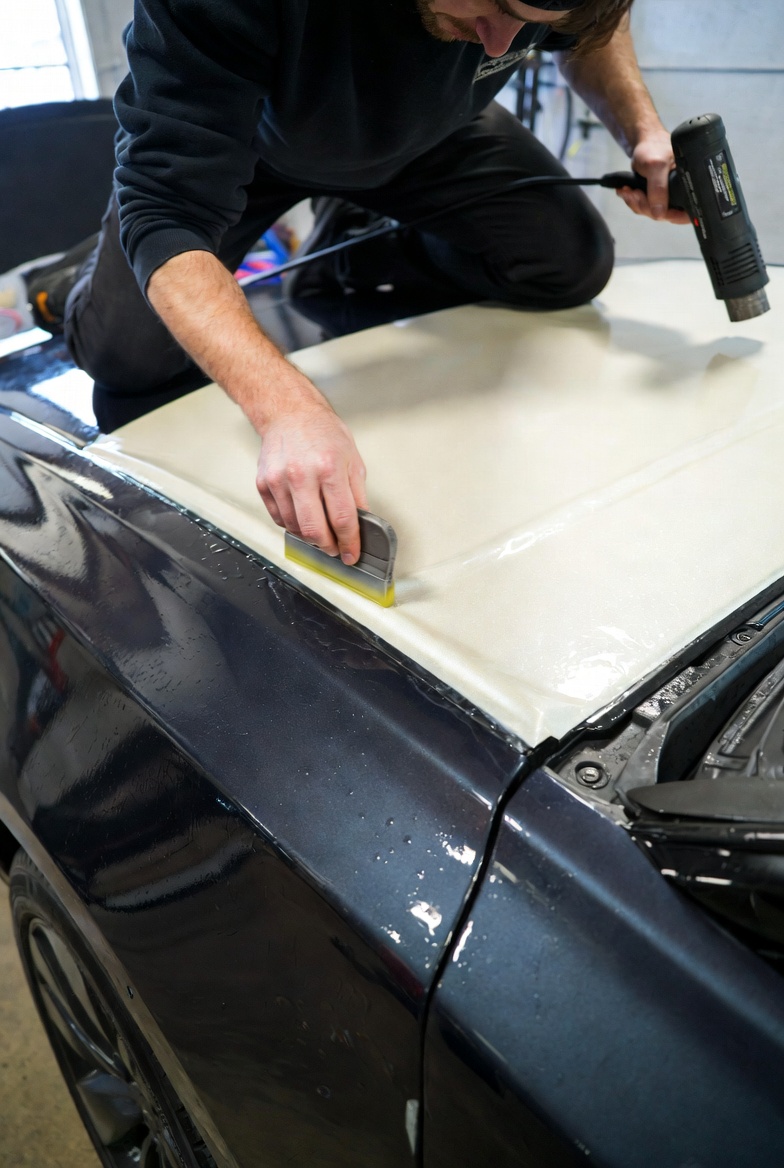
When someone first starts learning how do you wrap a car, they usually think the roof is the easy part. It’s flat and wide, right? But as any experienced installer will tell you, the roof is one of the most deceptively difficult panels on a vehicle. Between the bumpers, complex curves, and edges that can’t be removed, there are plenty of places to trip up. The key to a professional finish isn’t just about having the right tools; it’s about understanding how the material wants to move. After plenty of trial and error—most recently on a full Silverado wrap—here is the process for tackling even the hardest panels without ever having to pull the vinyl off mid-job.
Preparation: Setting the Foundation
1. Finding the Line
Before the installer even touches the vinyl, they should trace the panel’s lines with a finger to find the exact center point. Rushing this step is a recipe for misalignment later.
2. The “Liquid Vinyl” Trick for Complex Curves
For those extreme curves where the vinyl simply doesn’t have enough natural stretch, there is a game-changing technique. Drop scrap pieces of vinyl into a cup of isopropyl alcohol. In about five minutes, the alcohol breaks the vinyl down into a liquid. After cleaning the panel thoroughly, this liquid can be rolled onto the surface like paint. As the alcohol evaporates, it levels out into a perfectly smooth, flat surface that bonds seamlessly with the rest of the wrap.
Technique: Heat and Tension Management
3. Heat Before You Lay
A common mistake is heating the vinyl after it’s on the car. Instead, the installer should heat the vinyl before laying it down. This releases the factory-applied shrinkage tension, allowing the material to conform naturally to the panel’s shape so it stays put.
4. The “No-Pull” Rule
If there is one rule to live by when learning how to wrap a car, it’s this: never pull on the vinyl. Stretching the material leads to “glue lines”—unsightly streaks where the adhesive becomes visible. The installer should let the vinyl relax onto the panel on its own.
5. Work in Sections
It’s best to work in halves. Hold one section of the vehicle off the vehicle and use a heat gun to warm the working area. The heat gun must stay in constant motion; holding it in one spot for too long will instantly burn the material.
The Application: “Glassing” the Surface
6. Fingers Over Tools
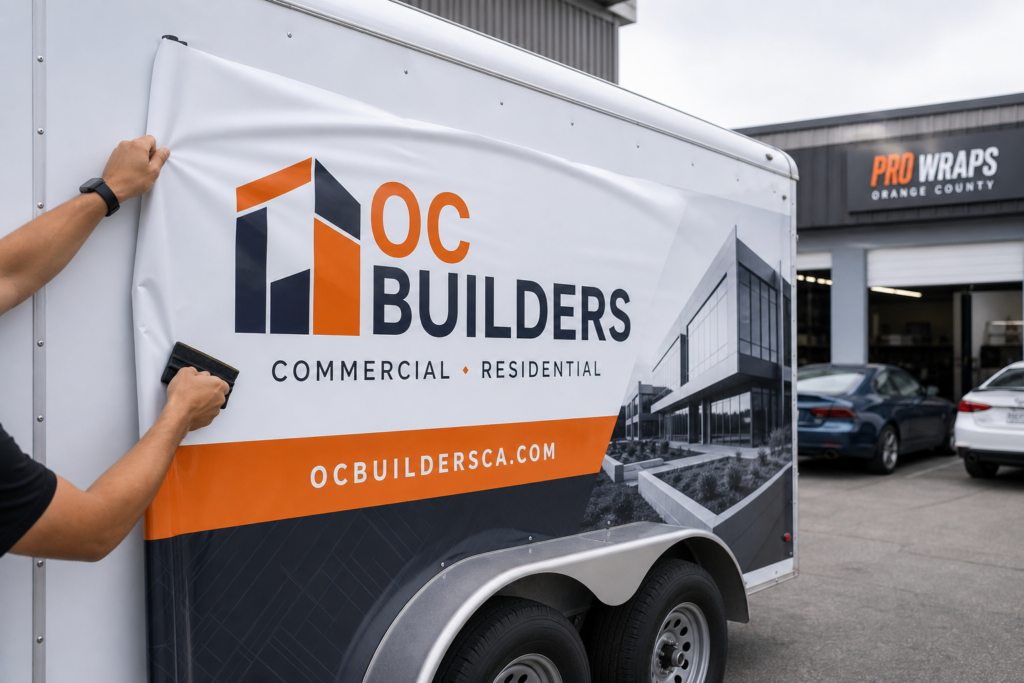
Before reaching for a squeegee, the installer should use their fingertips to catch air pockets that tools might miss. Then, they can follow up with the squeegee, working from the center outward to avoid “cinching” the material and trapping bubbles.
7. Glassing It Down
“Glassing” refers to laying the vinyl smoothly onto the surface with controlled, even pressure before aggressive squeegeeing begins. Start by tacking down the center body line to anchor the material. Once anchored, horizontal wrinkles often pop up, making them much easier to smooth out. From there, squeegee around handles or deep curves first to lock them in, then work the remaining material toward the edges.
Finishing: The Final Check
8. Tuck and Trim
For bumpers and non-removable edges, the vinyl should be tucked in with a squeegee. A final application of heat will reveal if the material wants to pull back. If the no-pull rule is followed, it will stay perfectly secure. Once satisfied, the installer can trim the excess.
The Golden Rules of Wrapping
Pre-Heat — Prevents the wrap from shrinking or lifting later.
No Pulling — Eliminates glue lines and distorted finishes.
Glassing — Prevents locking in wrinkles with the squeegee.
Fingers First — Ensures no air pockets are missed by the plastic tools.
Wrapping a car looks impossible at first, but it’s really just about guiding the material without adding stress. When an installer stops fighting the vinyl and starts letting it relax, everything clicks.