Assessing the Damage
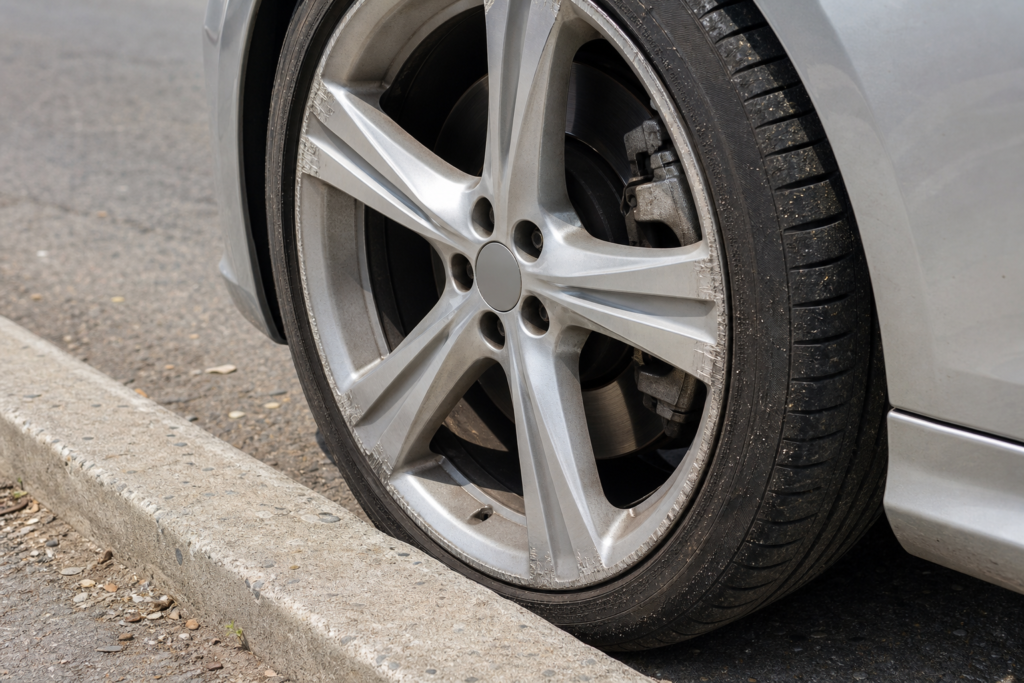
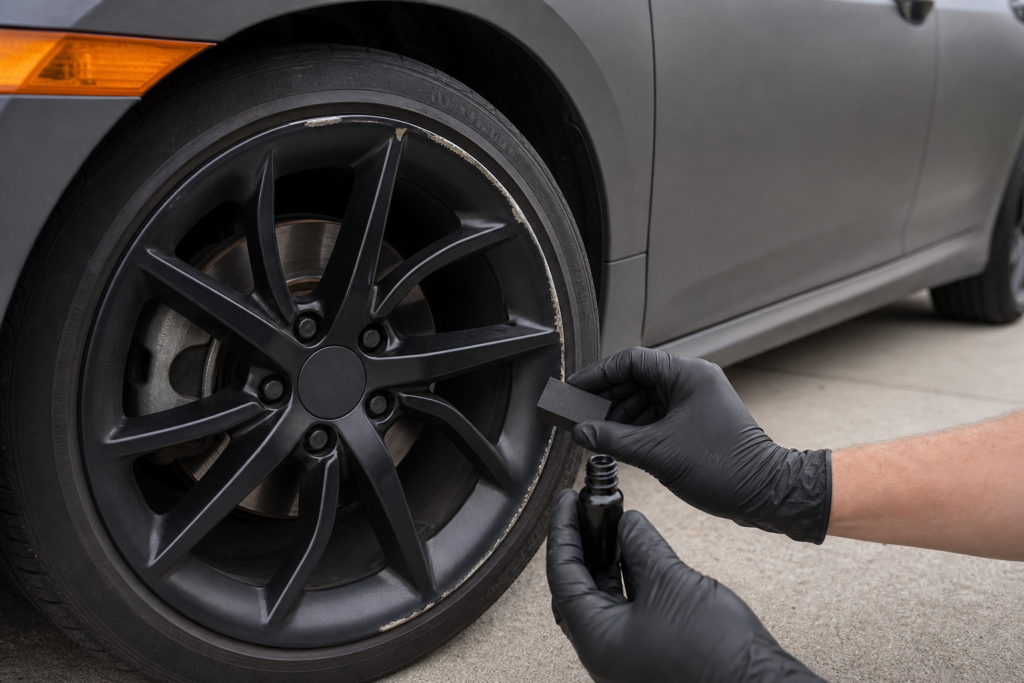
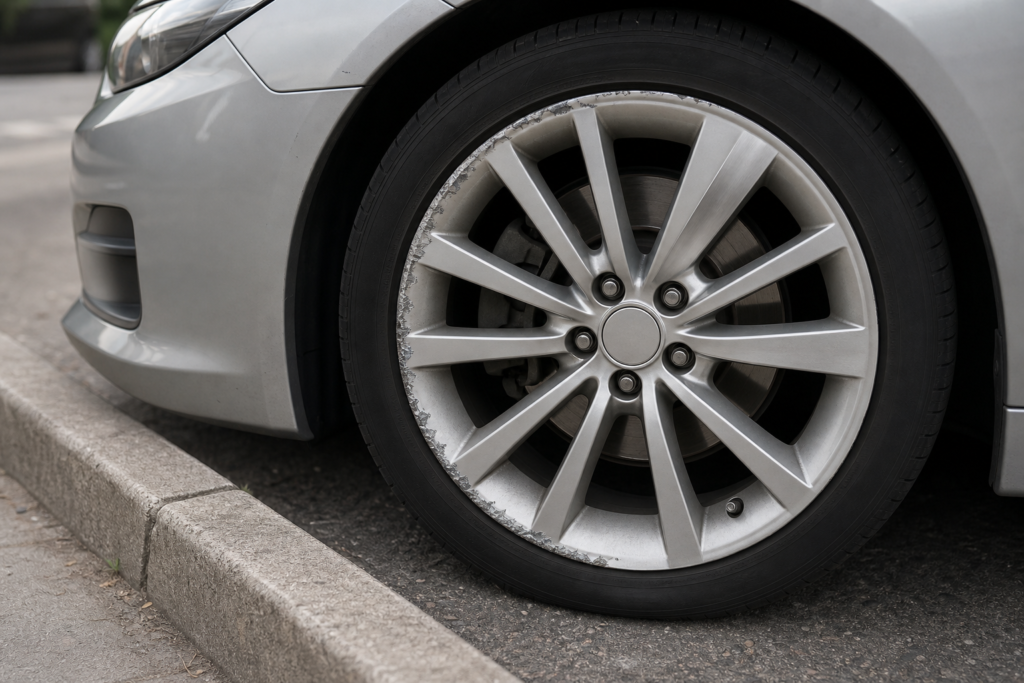
You pulled into a parking spot a little too tight, and now there’s a bright silver scar across the lip of your black alloy wheel where it kissed the concrete curb. Against a dark finish, that exposed metal jumps out like a spotlight.
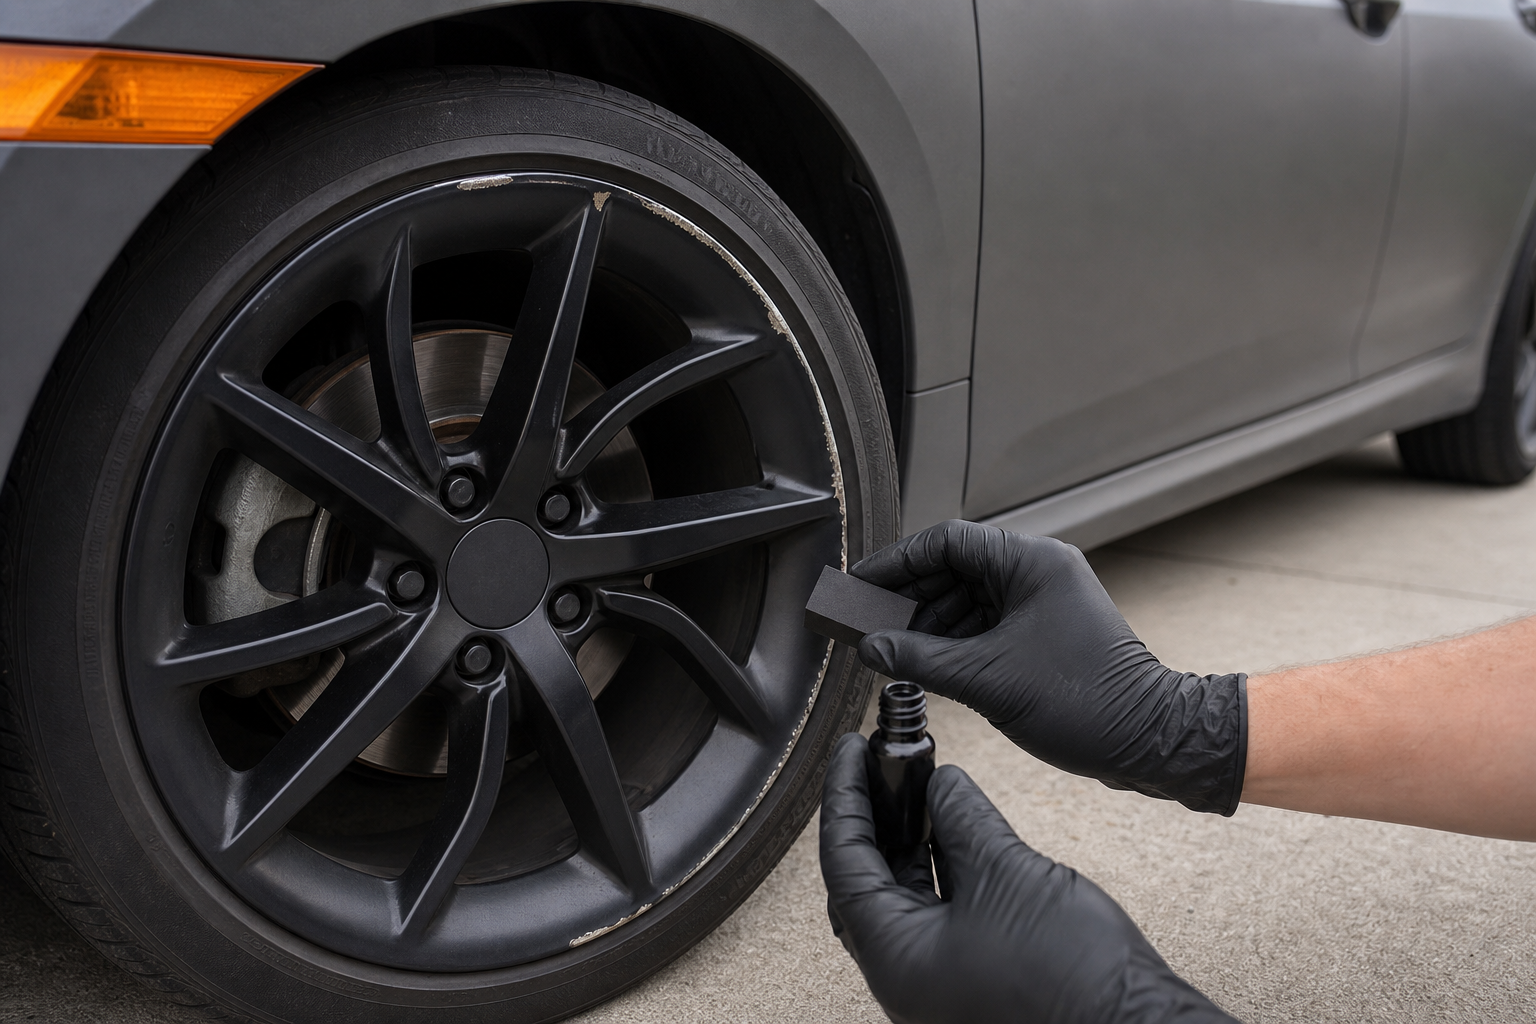
The good news: you can fix curb rash on black rims yourself, and the result can genuinely blend, if you prep the surface correctly, choose paint that matches your specific black finish, and give the repair real cure time before brake dust and weather start testing it.
The key isn’t just covering the scrape. It’s understanding what level of repair the damage actually needs and picking materials that bond, cure, and age without peeling or hazing against the rest of the wheel.
Choosing Your Repair Path
Not all curb rash is the same, and the repair that works for a light scuff will fail on a deep gouge. Start by running your fingertip across the damaged area. If you feel only a rough texture with no significant material loss, you’re looking at a surface scuff, the simplest fix. If there’s a noticeable groove or missing metal, that’s a gouge requiring filler. If the lip is visibly bent or cracked, that’s structural, and no amount of paint will make it right.
For surface scuffs on black rims, a sand-and-paint touch-up handles it. For gouges, you’ll need to fill, sand smooth, then paint. For anything involving a bent or cracked lip, or for factory powder-coated finishes you want perfectly matched, professional refinishing is the smarter call.
Knowing where your damage falls saves you from wasting a weekend on a repair that was never going to hold.
Prep and Materials
A repair that peels in three weeks almost always failed here, not at the paint stage. Start by cleaning the wheel thoroughly, soap and water first, then a dedicated wheel cleaner or degreaser to strip brake dust, road film, and any wax or sealant. Residue left on the surface prevents primer and paint from bonding. Once clean, dry it completely.
Mask off the tire sidewall and any undamaged areas of the wheel face with painter’s tape and plastic sheeting. Tight masking lines matter because overspray on a black wheel is visible in certain light, even black overspray on black paint, if the sheen doesn’t match.
For materials, you’ll need sandpaper in progressive grits (typically ranging from around 220 up through 600 or 800 for finishing), a metal-safe filler or spot putty for gouges, primer designed for metal or aluminum, and your black finish coat. When shopping for touch up paint for black rims, the critical detail is sheen. A gloss black spray on a matte wheel will create an obvious shiny patch. Check whether your rims are gloss, satin, or matte before buying anything. OEM touch-up pens matched to your wheel’s color code are one option; black wheel spray paint formulated for alloy rims is another. Either way, match the sheen first, the color second, most blacks are close enough, but the wrong sheen is visible from across a parking lot. A black rim curb damage repair kit can simplify sourcing if it includes the right grit sandpapers, filler, and matched paint for your finish type.
Sanding, Reshaping, and Filling
Sanding serves two purposes: it smooths the rough, torn metal left by the curb, and it creates a surface profile that primer and paint can grip. Start with a coarser grit to knock down the high points and jagged edges of the scrape. Work carefully along the lip’s contour, you’re smoothing, not reshaping the entire edge. Aggressive sanding can flatten the lip’s profile and create a visible flat spot that’s harder to hide than the original scratch.
Once the rough edges are down, step up to a finer grit to feather the transition between bare metal and the surrounding intact finish. This feathered edge is what prevents a visible “halo” where new paint meets old.
For deeper gouges where metal is actually missing, apply a thin layer of metal-appropriate filler or spot putty. Let it cure fully per the product’s instructions, then sand it flush with the surrounding surface using progressively finer grits. The goal is a smooth, continuous surface that your fingertip can’t distinguish from the undamaged area. Skipping filler on a real gouge means the depression will telegraph through the paint and remain visible, especially in direct light. When you sand and repaint curbed black rims, patience at this stage determines whether the final result looks repaired or refinished.
Matching the Black Finish
This is where most DIY repairs succeed or fail visually. Before any paint goes on, apply a thin coat of self-etching primer to the bare metal and any filled areas. Primer gives the paint something to lock onto and prevents corrosion from developing underneath. Let it dry completely.
For the color coat, apply thin, even passes rather than one heavy coat. Heavy coats run, sag, and wrinkle, and on a wheel that flexes slightly under load and heat, thick paint is more prone to cracking later. Two to three light coats with drying time between each is the standard approach for black rim scratch repair DIY work that holds up.
If your rims are gloss black, you’ll typically want a clear coat on top to match the depth and shine of the factory finish. Satin rims may or may not use clear, depending on the specific sheen, test on an inconspicuous area if you’re unsure. Matte black rims should not get a gloss clear coat; it will create a shiny spot that defeats the entire repair. Matte-specific clear coats exist for UV protection without added gloss.
Blending the edges matters. Feather your spray slightly past the primed area onto the existing finish so there’s no hard line where new paint stops and old paint starts. This overlap zone, when done with light coats, becomes invisible once cured. Fixing scratched black alloy wheels is largely about this transition, the center of the repair is easy; the edges are where it shows.
Curing and Troubleshooting
Fresh paint on a wheel faces a hostile environment: brake heat, brake dust (which is mildly abrasive), road salt, gravel, and constant water exposure. Rushing the cure is how repairs fail early. Follow the paint manufacturer’s recommended cure time before driving, typically at least 24 hours for handling and several days for full chemical cure. Avoid washing the repaired area or applying any sealant or wax until the paint has fully hardened.
Once cured, protect the repair. A ceramic coating or wheel-specific sealant creates a barrier against brake dust embedding and salt corrosion. Reapply sealant periodically, especially before winter if you drive in regions that salt roads.
When DIY repairs go wrong, the symptoms usually point to a specific cause. Fish-eyes, small craters in the paint, mean contamination wasn’t fully removed during prep; the fix is stripping back, re-cleaning with a wax-and-grease remover, and repainting. Peeling at the edges means the feathering wasn’t gradual enough or the surface wasn’t scuffed for adhesion; sand back the peeling area, re-feather, and recoat. A mismatched sheen, glossy patch on a satin wheel, or flat patch on a gloss wheel, requires stripping the topcoat and reapplying with the correct product. Wrinkling happens when a second coat goes on before the first has dried or when incompatible products react; sand it back to stable paint and start the color coats over with consistent products and dry times. A visible halo around the repair edge means the masking line was too sharp or the blend zone too narrow; wet-sand the transition lightly and apply one more feathered pass.