Identifying Bumper Curb Rash
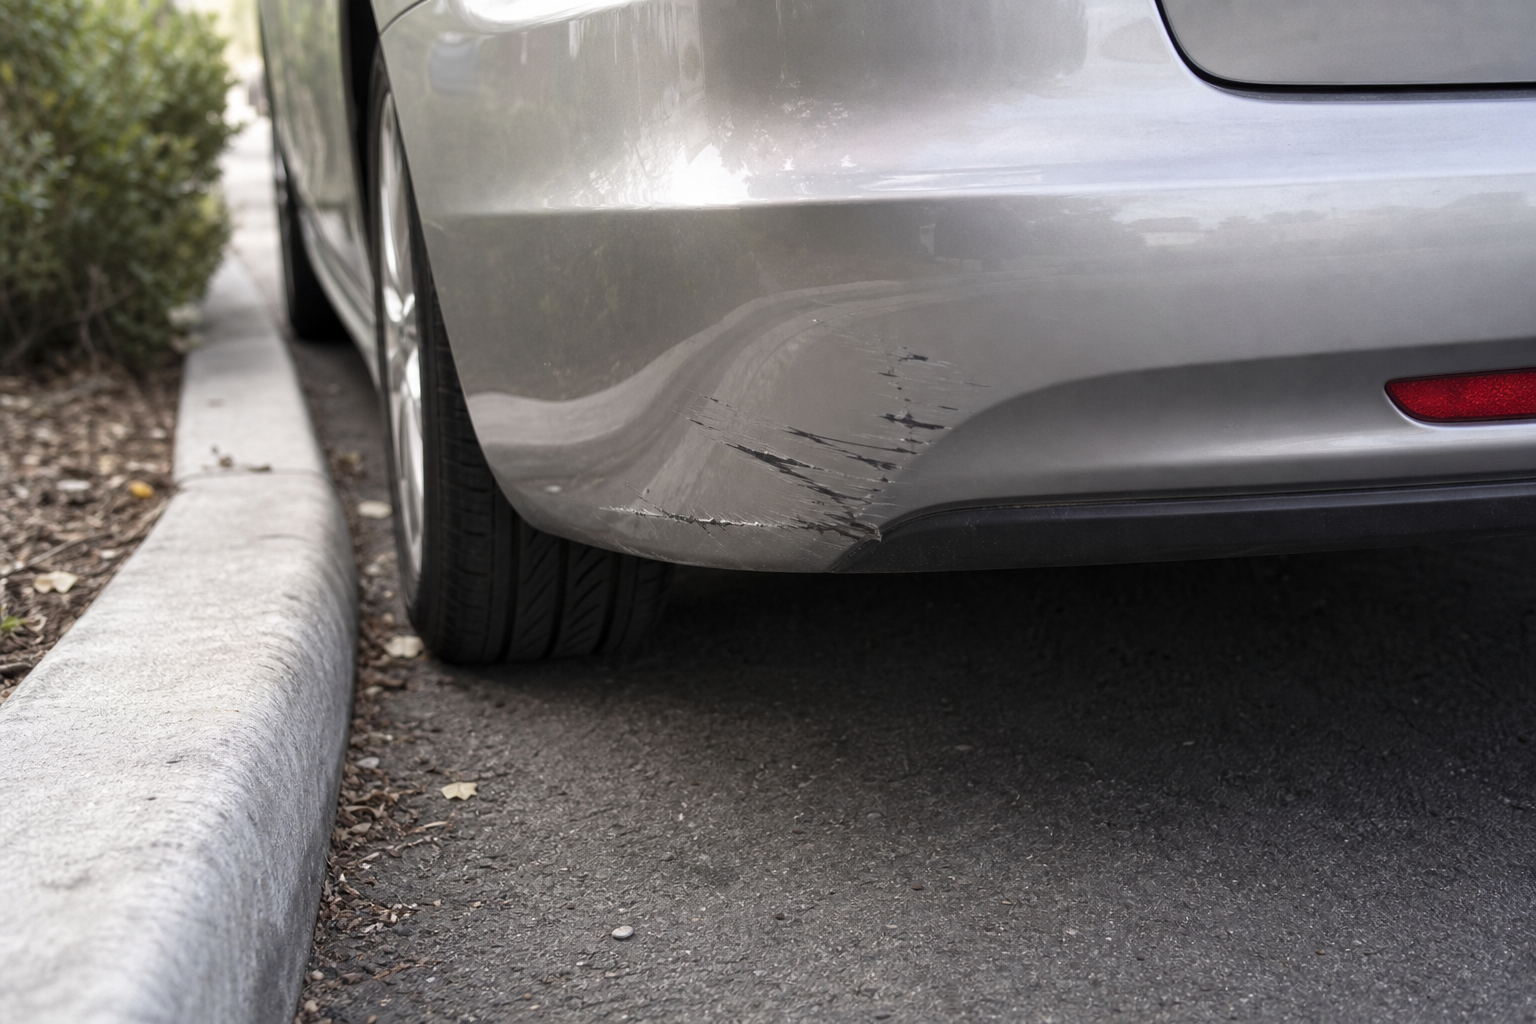
A tight parking spot, a tall curb, and one slow turn-in, now the corner of your front bumper has a gray scuff and a rough edge that won’t wash off. The real question isn’t “is it bad,” it’s “what happens if I leave it, and what’s the smartest way to deal with it based on the car I’m driving.”
Curb rash on a bumper falls into a few distinct categories, and telling them apart matters because each one leads to a different repair path. The mildest form is paint transfer, rubber or concrete residue sitting on top of your clear coat. Wipe it with rubbing compound and it’s often gone. A bumper scuff from a curb is one step deeper: the clear coat and base color are abraded, leaving a rough, discolored patch, but the plastic underneath is intact. Then there’s the gouge, where the curb actually digs into the bumper cover’s plastic, removing material and sometimes exposing raw substrate. Finally, a crack. If the plastic flexed past its limit on impact, you’ll see a split or a stress fracture radiating from the contact point.
Each level changes what’s possible. Paint transfer is a Saturday morning fix. A shallow scuff can respond to touch-up methods. A gouge into plastic needs filler. A crack usually means the bumper cover itself is compromised. Knowing which one you’re looking at saves you from either over-spending on a cosmetic blemish or under-reacting to structural damage that worsens with temperature cycling and vibration.
Causes and Real Consequences
Modern bumper covers sit low. Crossovers and sedans with aerodynamic front fascias hang just inches above standard curb height, and parking lots with raised concrete islands are everywhere. Angle the car slightly wrong pulling into a head-in spot and the bumper corner catches. It’s one of the most common forms of minor body damage reported by drivers and rental fleets alike.
Cosmetically, curb rash on a plastic bumper looks worse over time. Exposed raw plastic oxidizes and yellows. Dirt embeds in the rough surface. What started as a quarter-sized scuff becomes a visible blemish that buyers, lease inspectors, and rental return agents notice immediately.
For owned vehicles, the hit is resale value. A clean bumper signals care; a scuffed one invites lowball offers or deductions at trade-in. For leased vehicles, most lease-end inspections flag anything beyond very light wear, and excess-wear charges can run into the hundreds.
Rental cars deserve special attention. Rental companies document exterior condition at return, and even minor curb rash that wasn’t noted on your pre-rental walkthrough can trigger a damage claim. Those claims often include not just repair but administrative fees and loss-of-use charges. If you pick up a rental and see existing bumper damage, photograph it and flag it with the counter agent before you leave the lot. If you cause curb rash during your rental period, the smartest move is to understand your repair options quickly, ignoring it and hoping nobody notices at return is the most expensive gamble you can make.
DIY Repair Reality Check
A curb rash repair DIY approach works within a narrow band of damage. If you’re dealing with paint transfer or a shallow surface scuff where the plastic is still smooth underneath, a rubbing compound, some bumper curb rash touch up paint matched to your vehicle’s color code, and a clear coat pen can produce a passable result. The scuff won’t disappear entirely, but it fades enough to pass a casual inspection.
The key word is “passable.” Touch-up paint on a curved bumper surface never matches factory finish perfectly. It fills the color gap but leaves a slightly different texture and sheen. For a daily driver you own and plan to keep, that’s often fine.
Where DIY breaks down is anything deeper than the paint layer. A diy curb rash bumper fix involving body filler on plastic requires flexible filler, proper adhesion promoters, sanding through multiple grits, and spray-on color matching, skills and materials that push past casual weekend territory. If the rash is on a section with parking sensors, cameras, or trim pieces, the margin for error shrinks further. And if the plastic is cracked or deformed, no amount of filler and paint addresses the underlying problem.
A realistic self-assessment: if the damage catches your fingernail when you drag it across the scuff, it’s probably past touch-up territory.
Professional Repair and Cost
When DIY isn’t enough, two main professional options exist: mobile cosmetic repair and traditional body shop work. Mobile techs come to your location and handle scuff repair, color blending, and minor plastic reshaping on-site, and some providers who specialize in mobile rim repair in orange county also offer bumper touch-up services, making it easy to address wheel and bumper damage in a single visit. They’re fast, often same-day, and tend to cost less than a body shop visit. Their sweet spot is moderate scuffs and shallow gouges on single-color bumpers without complex paint effects.
Body shops handle everything mobile techs do plus deeper structural work, bumper curb rash before and after transformations on badly damaged covers, and color matching on metallic, pearl, or tri-coat finishes that require spray booth conditions. If sensors or trim need removal and reinstallation, a shop is the safer bet.
Curb rash bumper repair cost varies widely based on a handful of factors. Damage depth is the biggest driver, surface scuff versus deep gouge versus crack. Paint type matters: a solid white is simpler to match than a three-stage pearl. Location on the bumper changes labor time; a corner scuff is quicker than damage spanning the center section. And if sensors, fog light bezels, or trim clips are involved, the tech has to work around them or remove them, adding time.
For light-to-moderate scuffs, mobile repair costs generally fall well below a full body shop respray. A complete curb rash bumper cover replacement, removing the old cover, sourcing a new or aftermarket one, painting it, and installing it, is the most expensive path and only makes sense when the plastic is cracked, warped, or so heavily damaged that repair costs approach replacement costs. Getting two or three estimates before committing is standard advice for a reason. The range between providers can be significant, and not every shop quotes the same scope of work. Ask whether the quote includes blending into adjacent panels, which affects how the result looks.
Preventing Future Bumper Damage
Most bumper curb rash happens in the same handful of scenarios: pulling nose-first into a parking spot with a raised curb, cutting a turn too tight near a median, or misjudging distance while parallel parking. Awareness alone prevents a lot of repeat damage.
Pulling into a spot slowly and stopping before the tires touch the curb, rather than using the curb as a backstop, keeps the bumper clear. Many newer vehicles have front parking sensors or cameras that help, but even those systems have blind spots at the extreme corners where curb contact is most common. If your vehicle doesn’t have sensors, a quick glance at the curb height relative to your bumper before committing to a spot takes two seconds and saves real money.
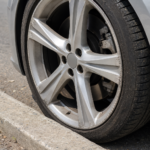
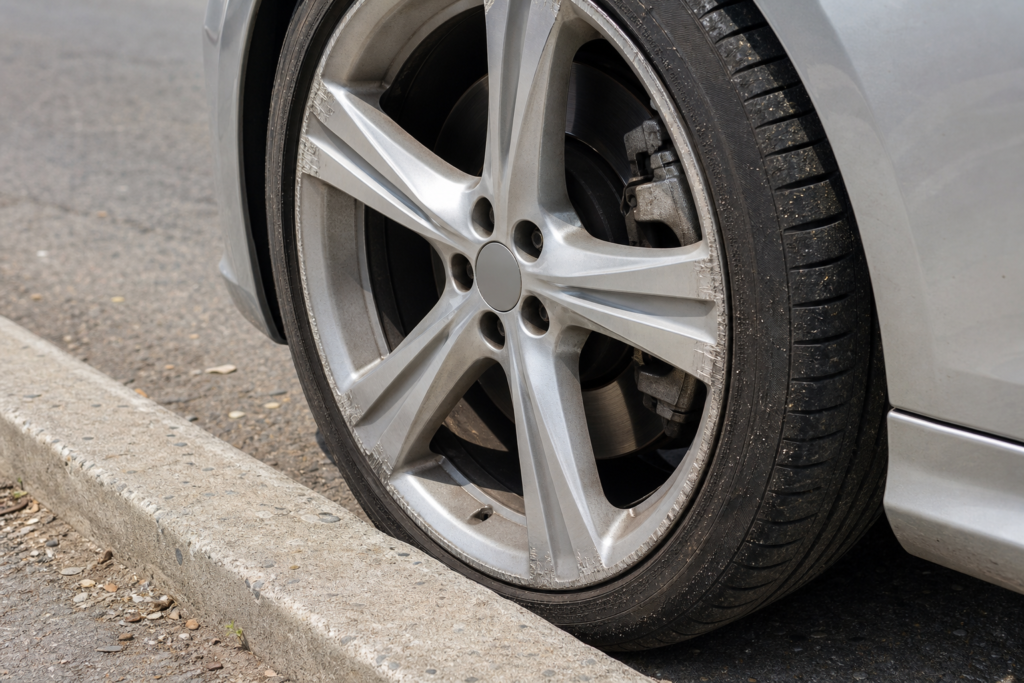
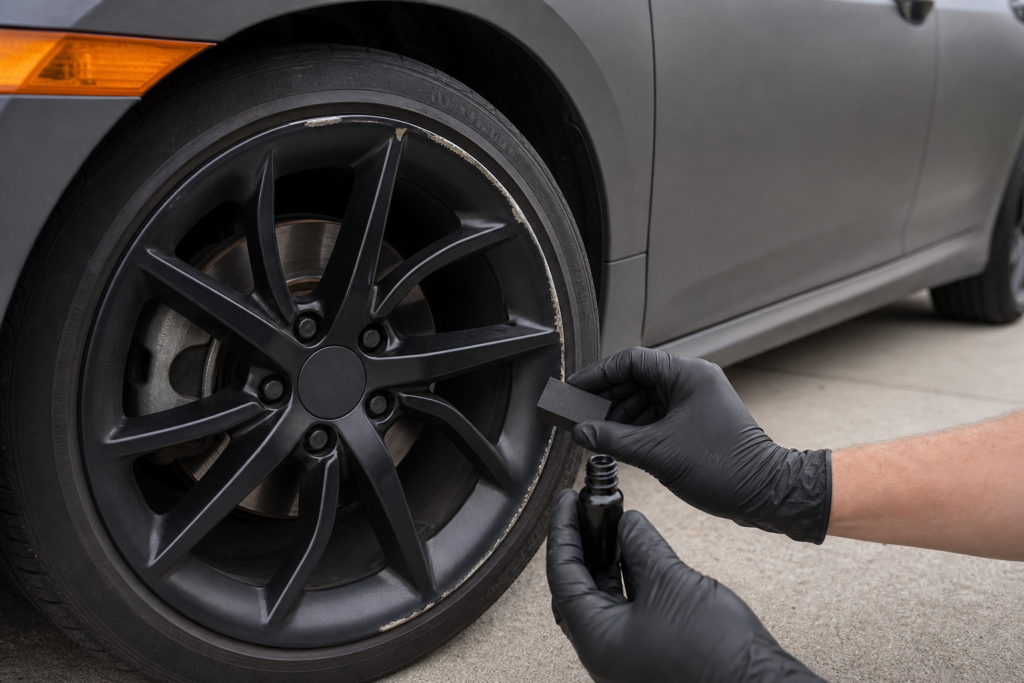
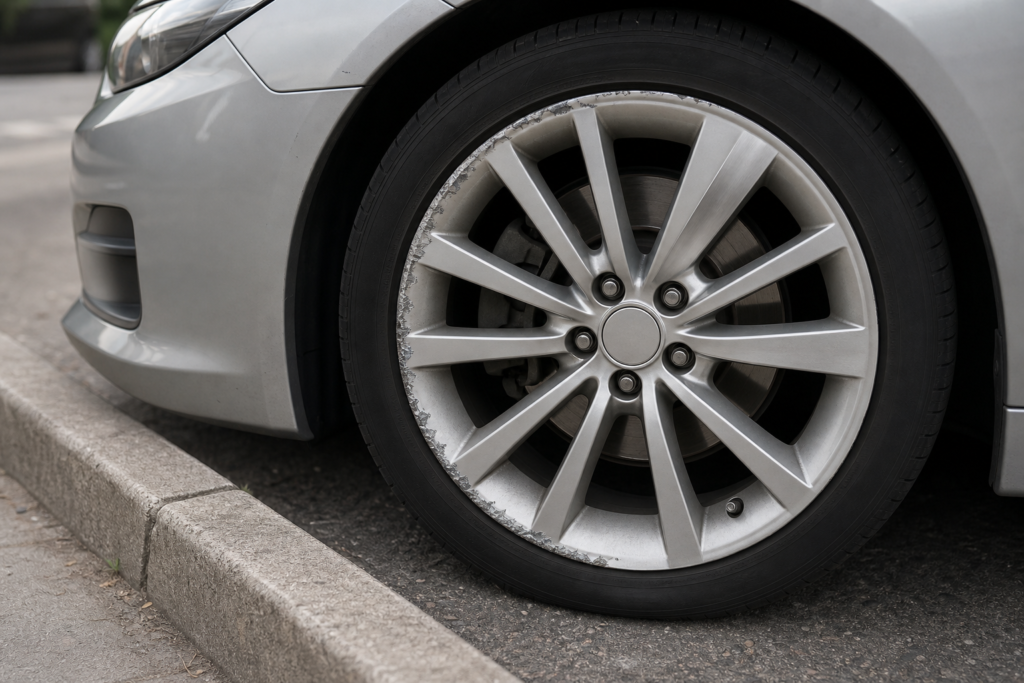
It’s worth noting that curb rash on a tire or wheel is a different problem with different consequences. Curb rash tire damage affects the rubber and alloy near the road surface, while bumper rash occurs higher up on painted plastic. The repair methods, costs, and urgency differ. Wheel curb rash is its own topic, don’t confuse the two when assessing what happened or searching for solutions.
For drivers who want to prevent curb rash on their bumper proactively, adhesive bumper protector films and corner guards exist. They’re not invisible, but on a vehicle that regularly navigates tight urban parking, they absorb the scrape instead of the paint.
Choosing Your Best Move
The right response to bumper curb rash depends on three things: damage severity, the vehicle’s ownership situation, and what you’re willing to spend.
If it’s paint transfer on a car you own, clean it off and move on. If it’s a shallow scuff on a personal vehicle you’re keeping long-term, a touch-up to fix curb rash and slow oxidation is often enough. If it’s a deeper gouge on a car heading toward resale or lease return, professional repair pays for itself in avoided deductions. And if the bumper cover is cracked, you’re looking at a fix curb rash on front bumper scenario that likely ends in professional reshaping or replacement regardless of ownership status.
For rental cars, the calculus shifts sharply toward repair. A rental company’s damage claim process almost always costs more than having the work done independently before return, assuming your rental agreement and timeline allow it. At minimum, document everything, photos with timestamps at pickup and return, so that any dispute starts from a clear factual record.
The broader principle is straightforward: curb rash on a bumper is common, rarely urgent, but never free to ignore indefinitely. Plastic degrades once the paint barrier is broken. Inspectors and buyers notice. And the gap between a quick, cheap fix on a fresh scuff and an expensive repair on neglected damage only widens with time. Assess what you’re looking at, match it to your situation, and act while the fix is still simple.